
Step 1. Creating the Patient
The first thing you will want to do is create the patient.
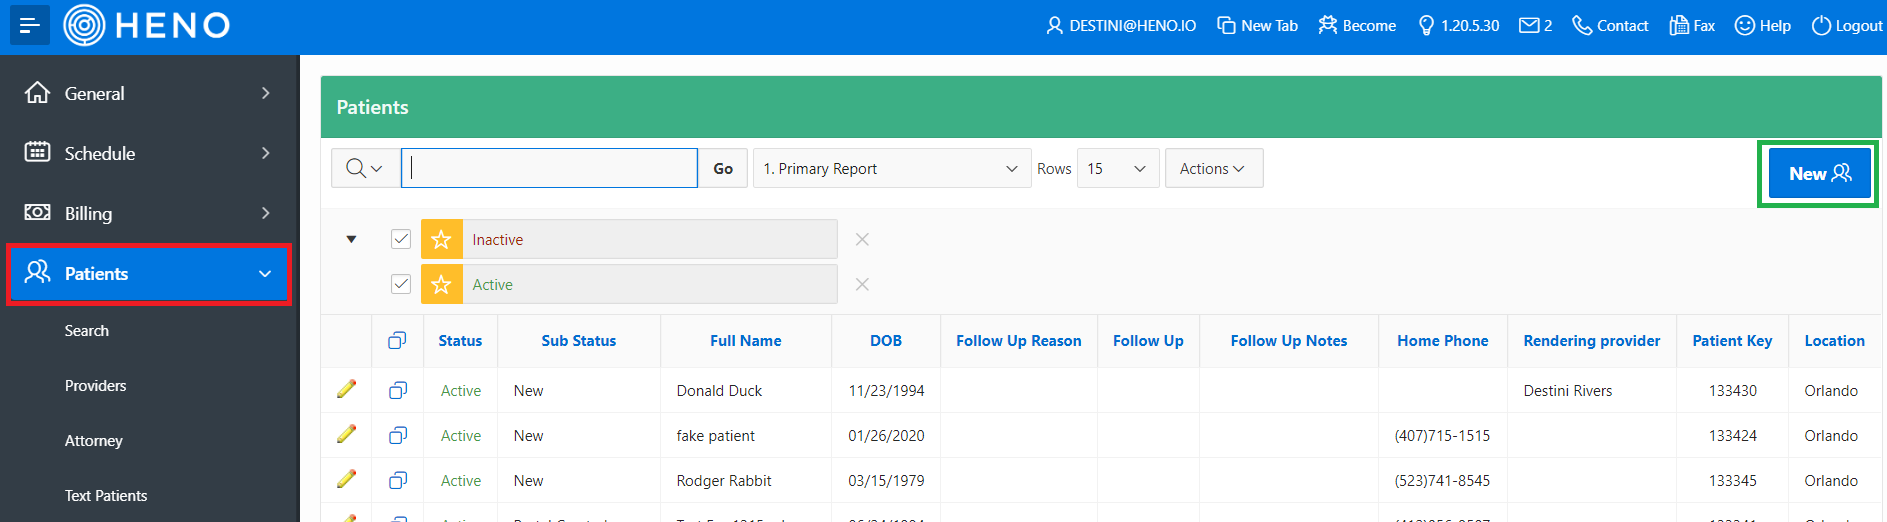
1. Patient Tab
You can create a new patient in the Patient tab by clicking on the "New" button in the upper right hand corner:
Fields marked with a red asterisks are required to create a new patient.
Clicking "Next" will create the patient while clicking "Cancel" will delete the record of being created.
Once the initial required fields are filled in, you can select on "Next" to create:
Required fields to create include: First Name, Last Name, Cell Phone, Email, Birthday, and Referral Source.
You can add in other information at this time as well such as Gender and Address.
You will be brought to the second page to add in insurance information for the Case.
The information filled in here is the patient's Primary Insurance details.
Please name the case i.e Medicare/BCBS or Self Pay and Add in their details of Insurance Company, Insurance Plan, Payer Scenario and Case Name.
Clicking Next will bring you to the next screen, Cancel to delete the potential record.
The next segment is the Chart, for what the patient is coming in for:
Fill in details such as Chart Name (Body Part), Chart Type to Create, you can also add in the Diagnosis Code 1 and Chart Details:
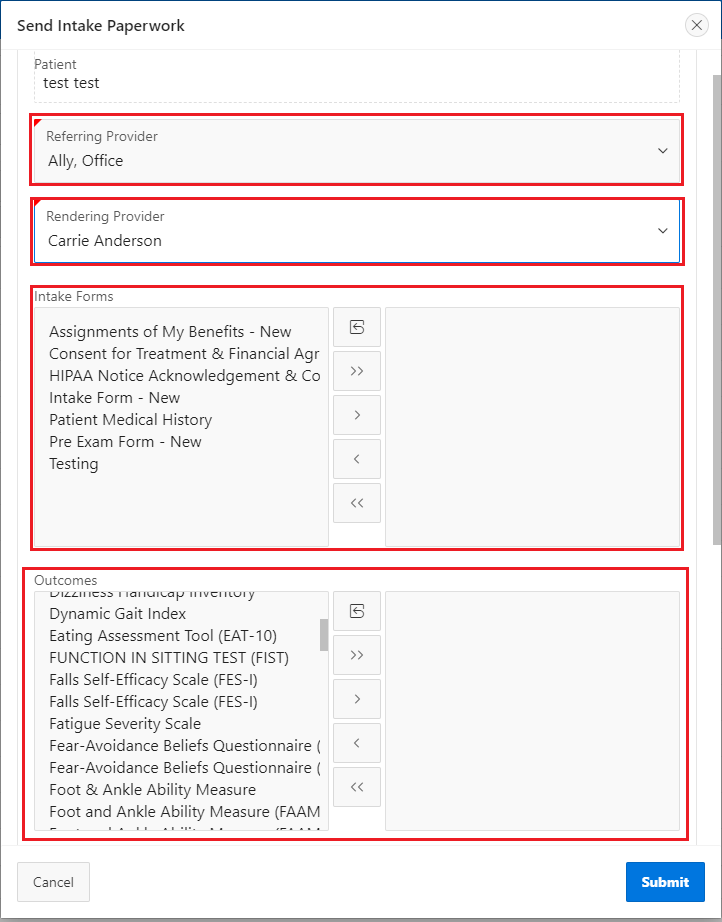
When Clicking the Finish & Send Intake, it will bring you into a new tab where you will:
- Select the Referring Provider
- Rendering Provider
- Intake Forms (How to create:
- Outcomes (if you do not see an outcome that you use, please a PDF of the outcome to support@heno.io)
- Make sure an email is put in the box
- Type your email body
- Submit
You will then have the option to email or text the forms to the patient (Texting plan will need to be turned on in the Admin -> Practice -> Patient Texts)

2. On the Schedule
There are two ways to create a new patient on the schedule:
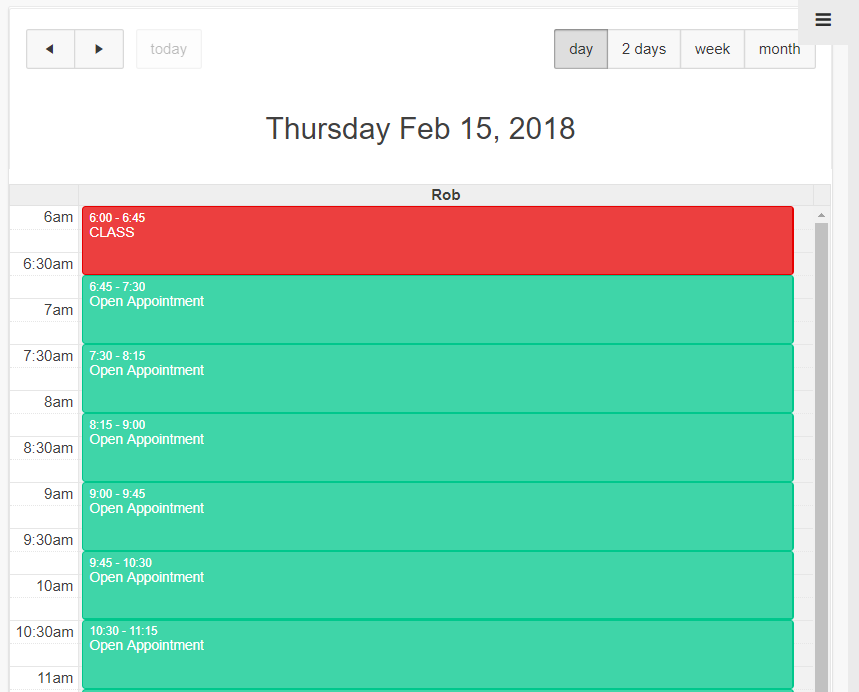
A. An existing slot on schedule.
You will click on an appointment that does not have a patient already scheduled in it:
You will get a pop-up to schedule. On the bottom left side of the pop-up you will click on "New Patient"

The screen will refresh and you will get the page with required information in order to create the new patient that are marked with an asterisk (*), then click "Create"
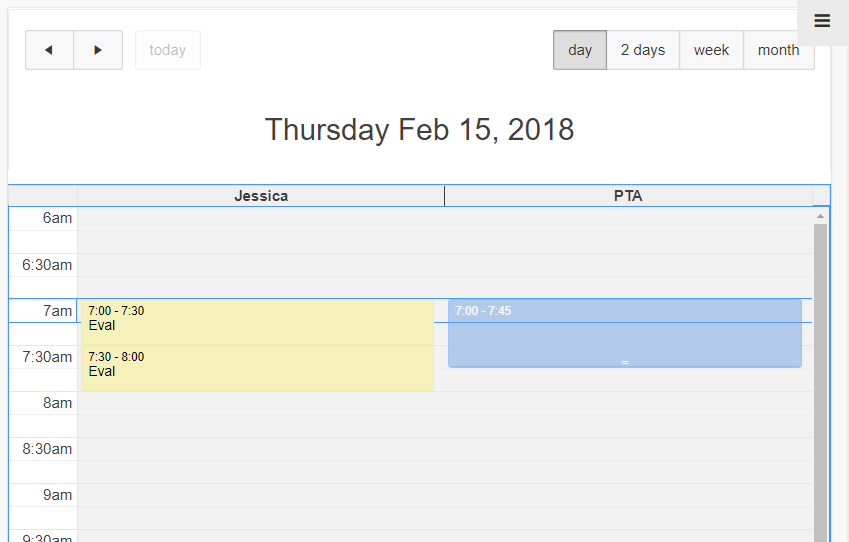
B. Creating a Slot and New Patient
On the schedule, you can point-and-click to schedule an appointment
A new screen will populate that allows you to select the type of appointment and the patient. In the bottom left hand side you will see a button "New Patient"
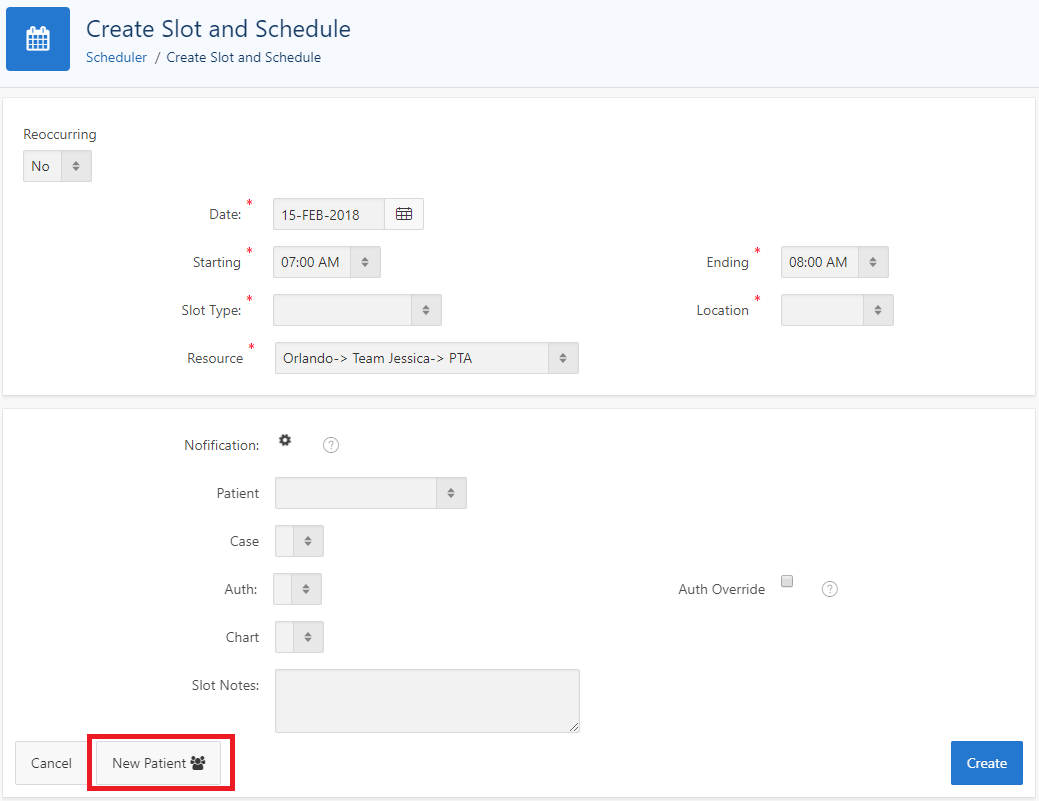
A pop-up will then appear. There is required information in order to create the new patient that are marked with an asterisk (*), then click "Create"