
Step 3. Add/Edit Patient's Chart
Now that you have the patient created and the Insurance in their account. You can edit the chart information. This can also be completed from the documentation.
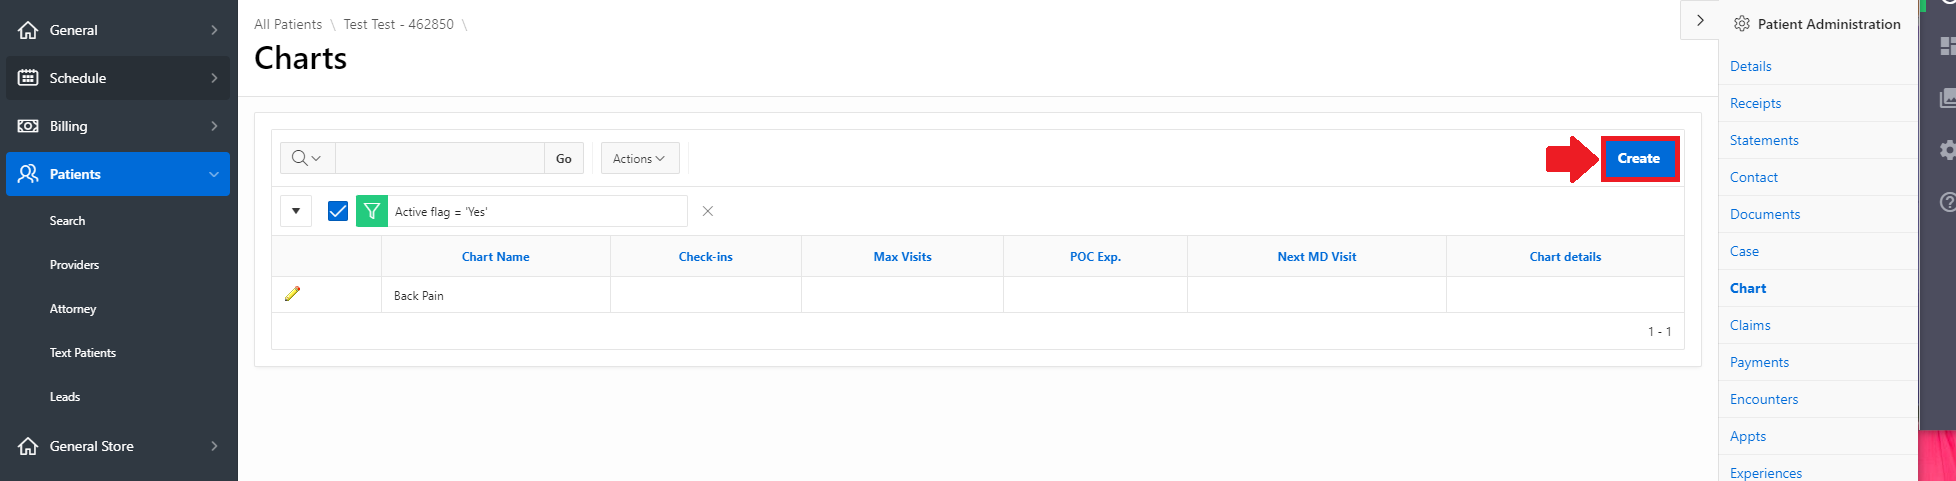
Inside the patient demographics, go over to the Chart tab
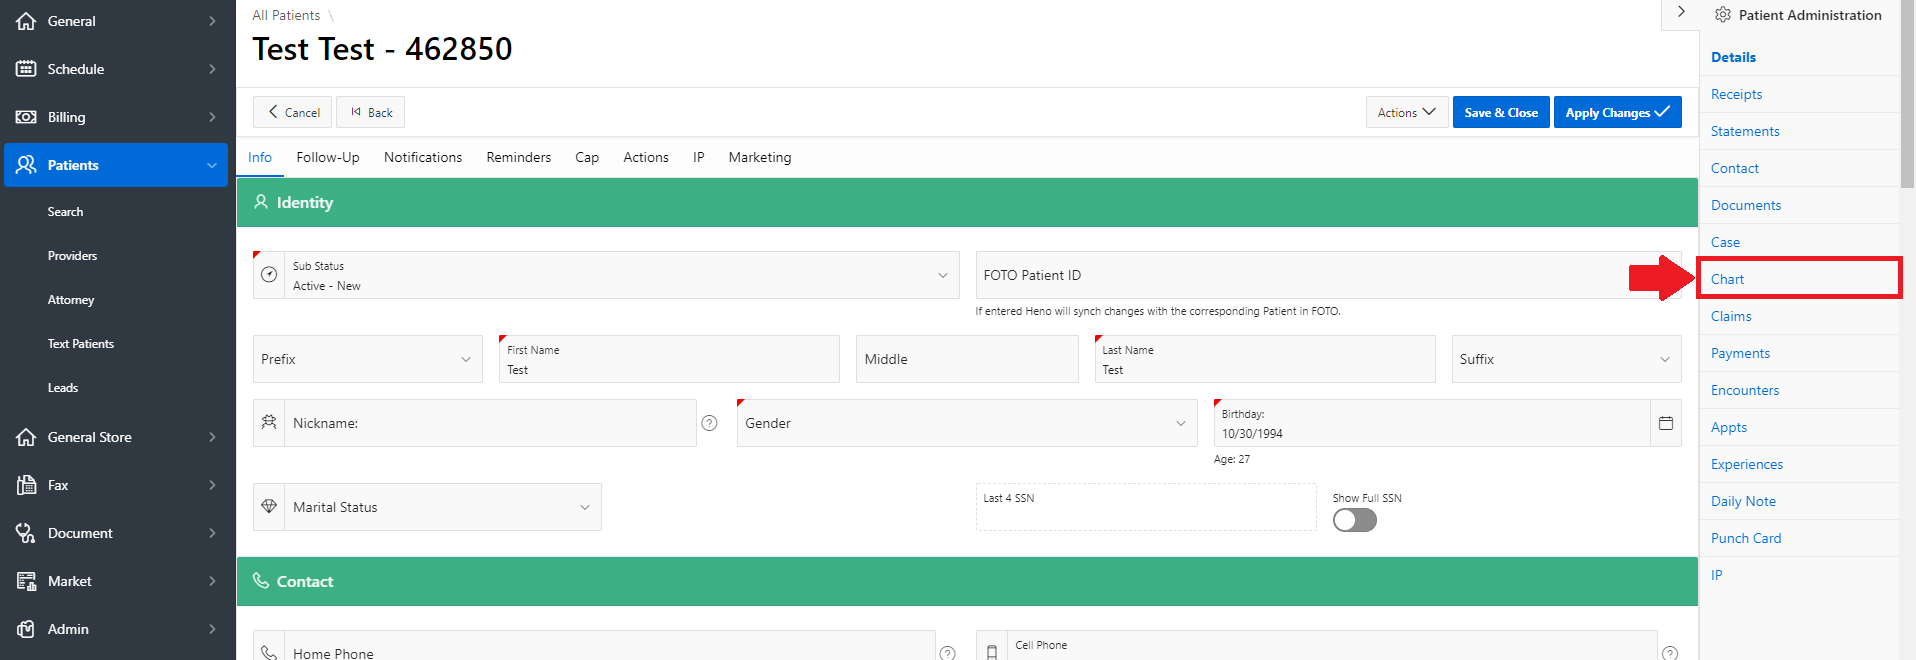
HENO will automatically create a Chart that will be "Chart [Case Name]". To change the name and edit the information, you will click on the Edit Pencil on the left hand side:

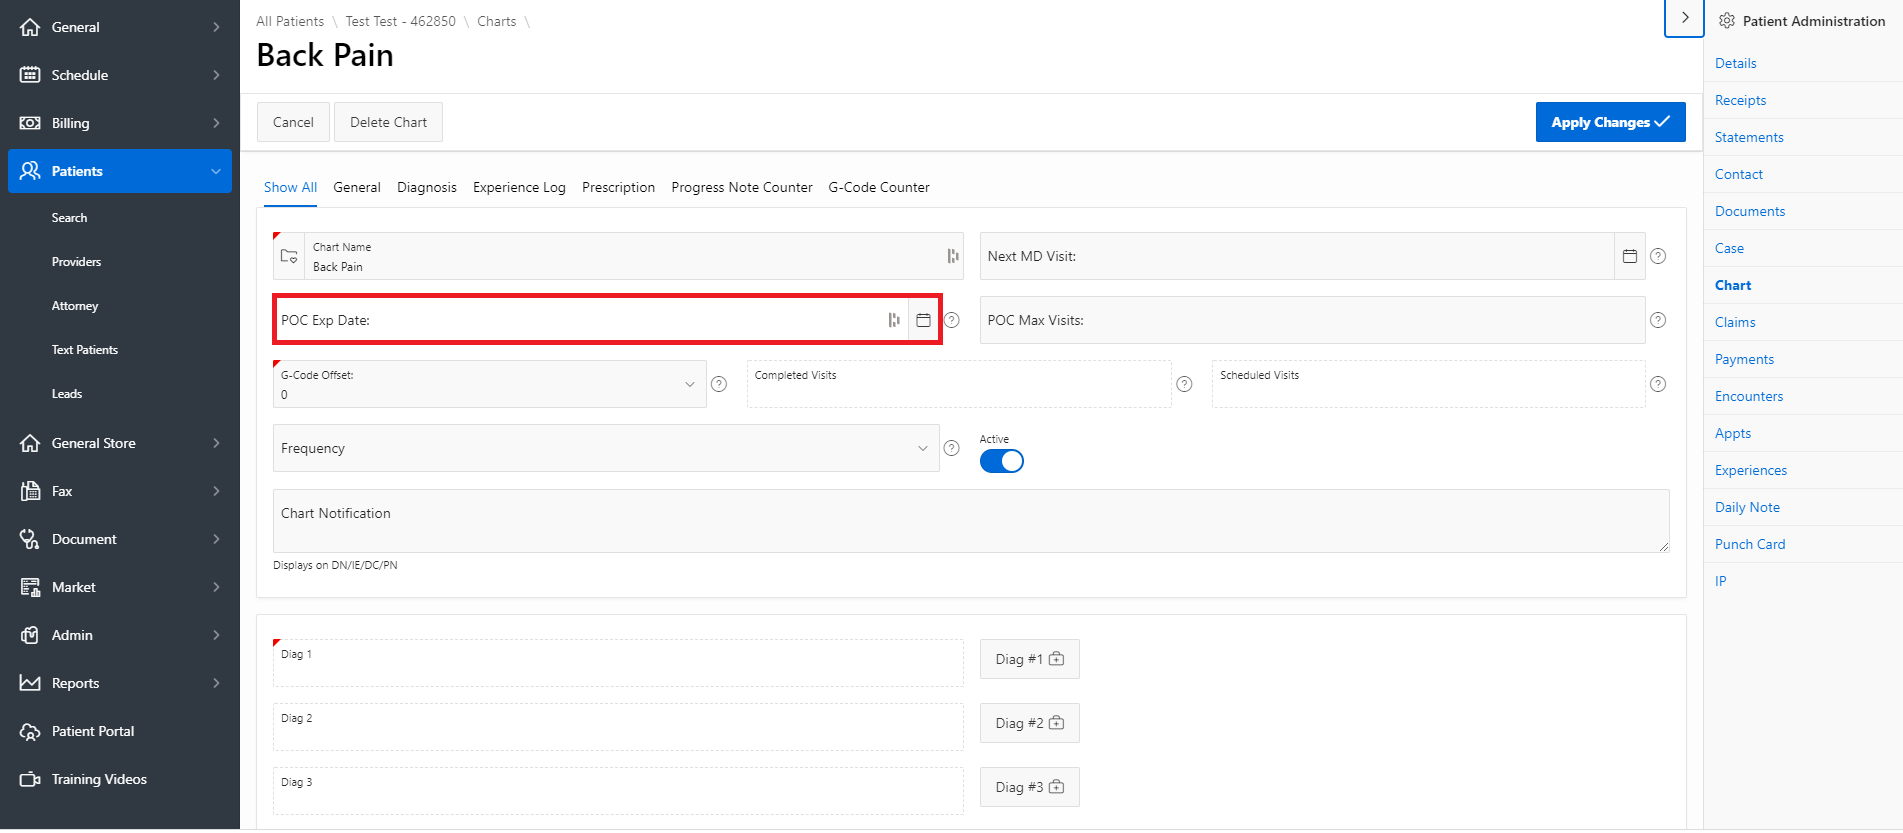
Inside the chart, you will see several fields that can be filled out. In the General area:

- Red - Chart Name - This is automatically created in HENO when you create a patient. You can change the name here. HENO will also allow you to have multiple charts if you are treating different areas of the body and want to separate the documentation.
- Orange - Next MD Visit - If you are wanting to track when the patient goes to the physician next, you can put this date in here. There are reports you can pull to see when patients have these MD visits coming soon.
- Yellow - POC Exp Date - The day the patient should complete this Plan of Care
- Green - POC Max Visit - Maximum amount of visits the patient should come for this POC
- Blue - G-Code Offset - If there were G-codes entered in your old EMR prior to coming into HENO and you want to have the count correct for the 10th visit
- Used for determining if it's time for a G-Code mainly for new clinics migrating into Heno with an existing patient.
We determine if it's time for G-codes based on Eval, Re-Eval, Discharge, or if this is visit # 10.
For determining visit 10 this number is added to the Visit Count and we then use a MOD function to determined if Visit Count+Visit Offset is divisible by 10 and if it is the user is prompted to enter G-Codes.
- Used for determining if it's time for a G-Code mainly for new clinics migrating into Heno with an existing patient.
- Pink - Completed Visits- This is the number of completed visits the patient has attended against this chart.
- Gray - Scheduled Visits- This is the number of scheduled visits the patient has attended against this chart.
- Purple - Frequency - Number of days per week the patient should come. This does not update from the Plan inside the documentation. This will need to manually be put in the chart if you want it to be here.
- Brown - Active - This is the active flag of the chart. You can either manually deactivate it by un-checking this box or when you fill out Discharge documentation it will deactivate.
- Black - Chart Notification - You can put up to 4000 characters in this area. It will create an alert at the top of your Daily Note as a friendly reminder of chart details. Anything from physician recommendations, patient preferences, or information you want to be reminded of.
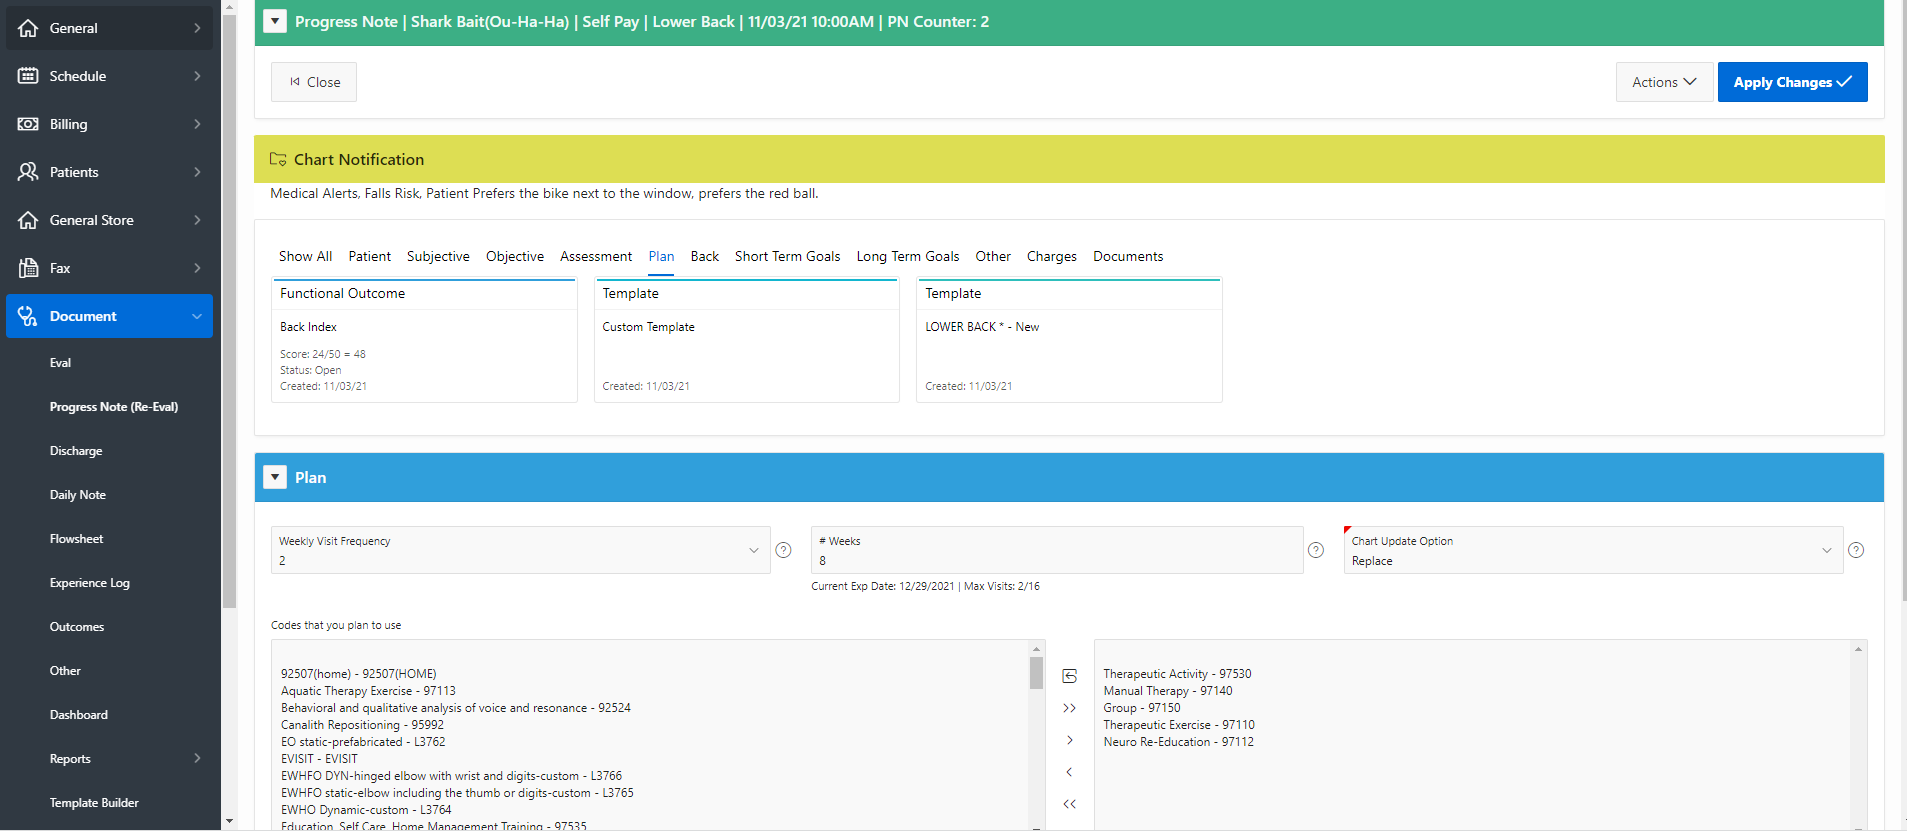
Updating the Plan and POC in the Patient's chart:
Admin ->Practice-> Customize ->


- Replace: This will replace the current Plan of Care inside the patient's chart (Date and Visit count will change)
- Add To: This will add the new Plan of Care to the current one (Update the date and Add the new visits with the old visits) - Most recommended for reporting
- Do note Update: This will allow you to keep the current Plan of Care with no changes
-


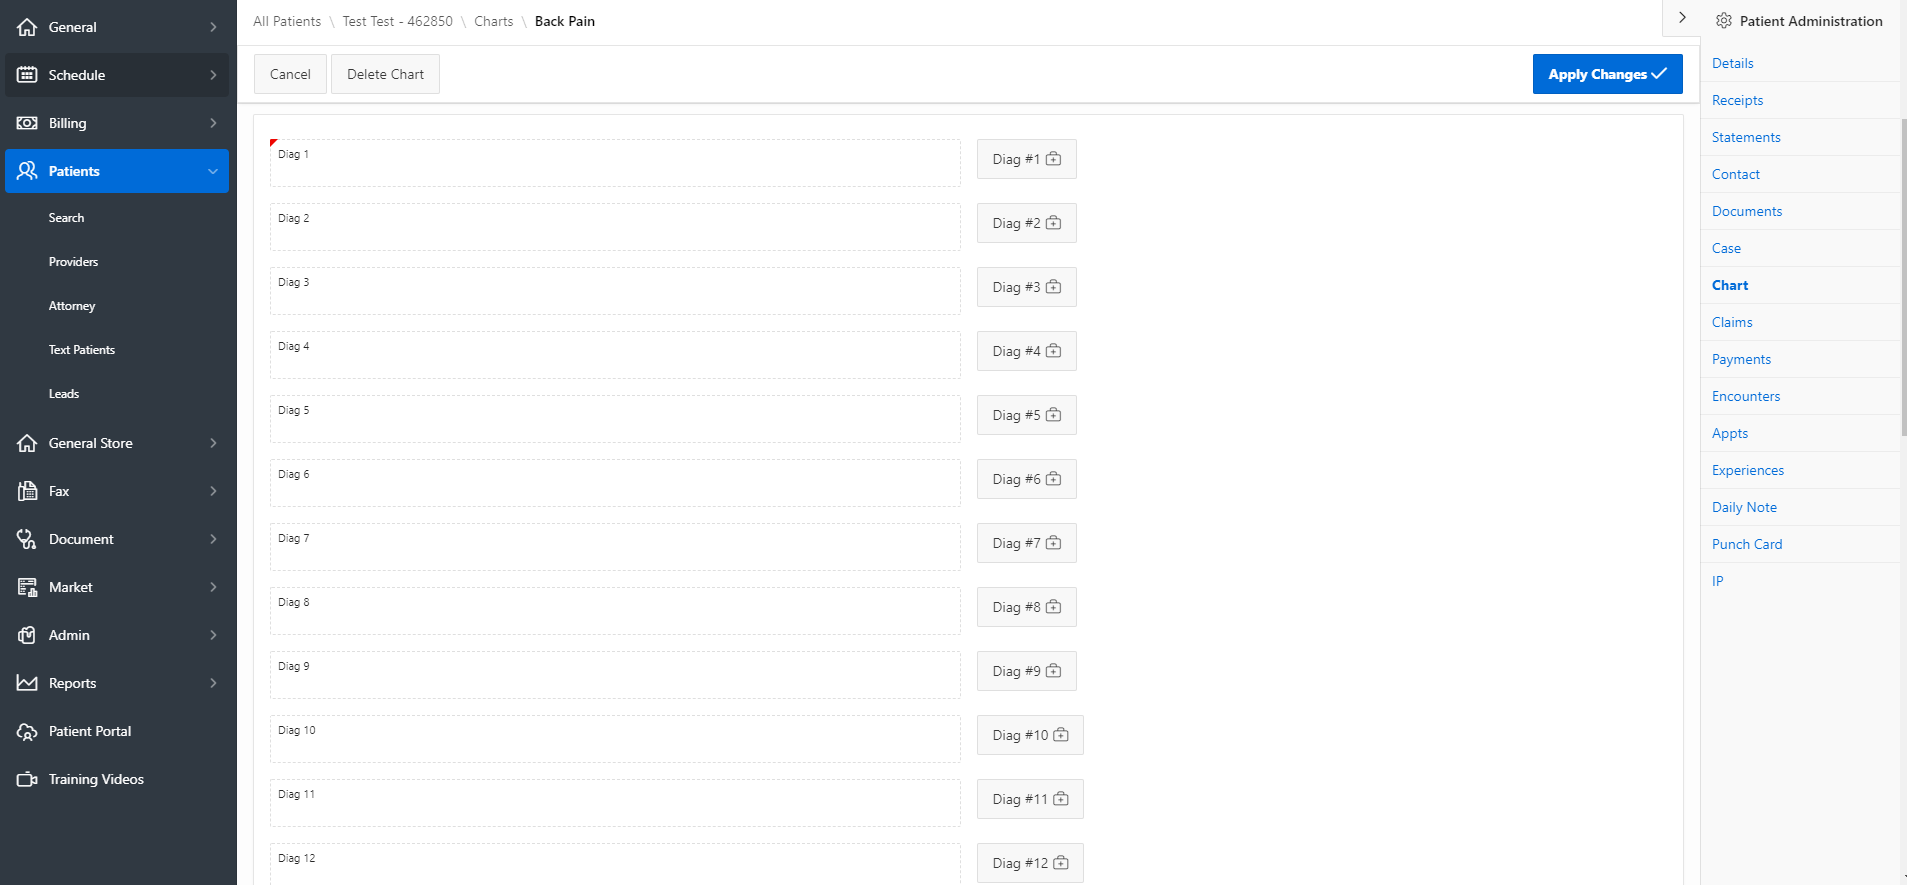
Scrolling down, you have the option to add up to 12 diagnoses for the chart. Only one is required. Click on "Diag #1" to open the full ICD-10 list.
In the pop-up screen, you will search for the diagnosis. Enter keywords that will help you find the diagnosis code. This is a dynamic search so you do not know have to know exactly what the description says. Once found, Click "select".
You can also create your Custom Diagnosis that you use most often: See Article

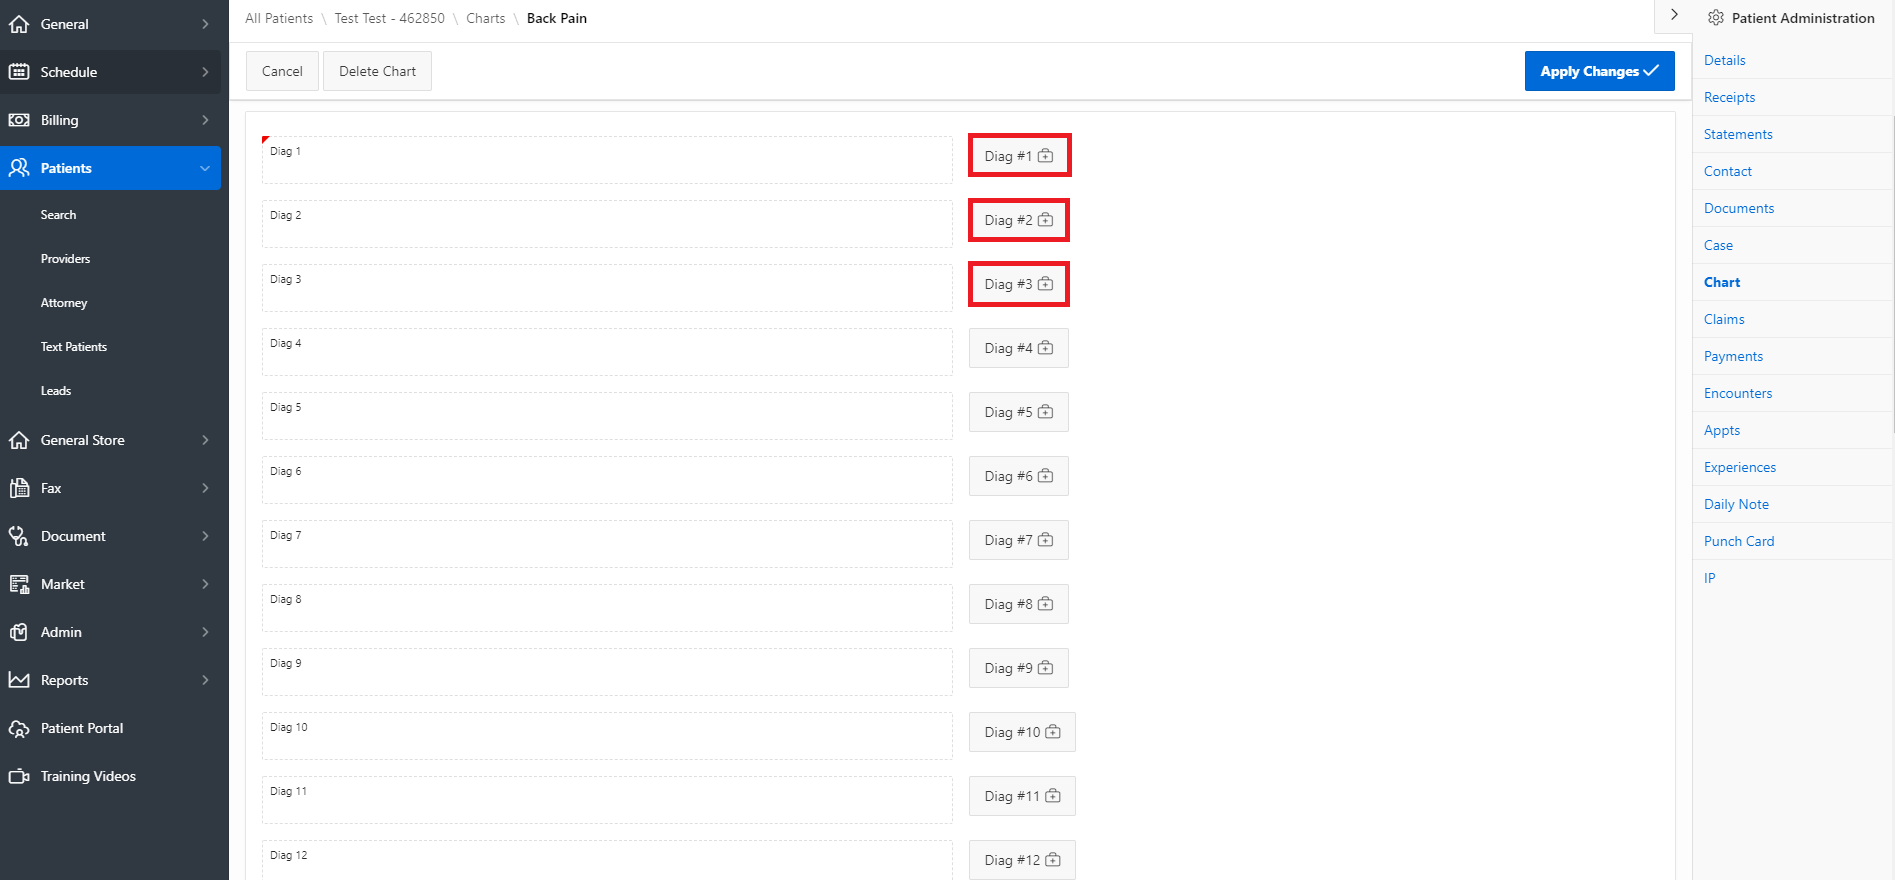
To add more diagnosis codes to the chart, you can click on the other Diag buttons:
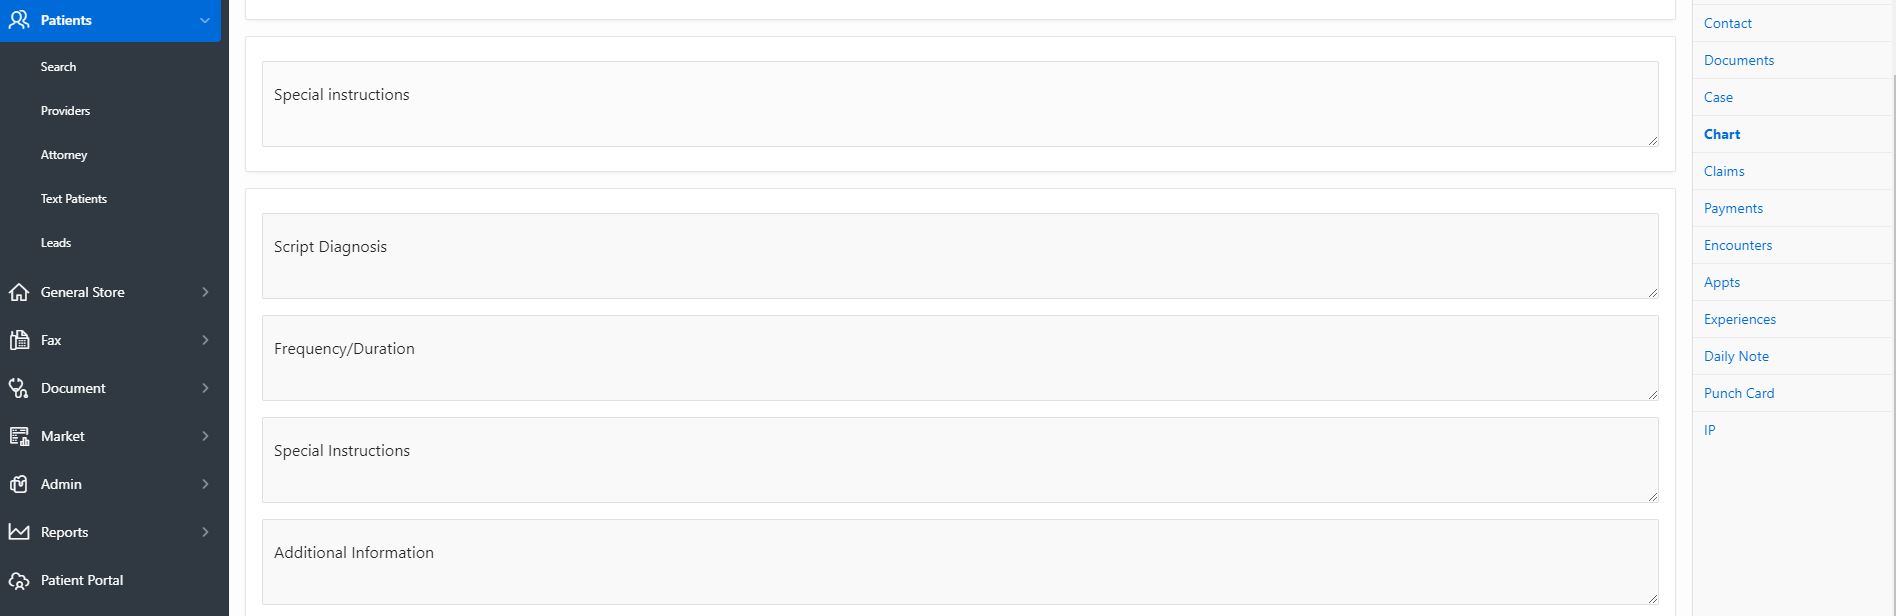
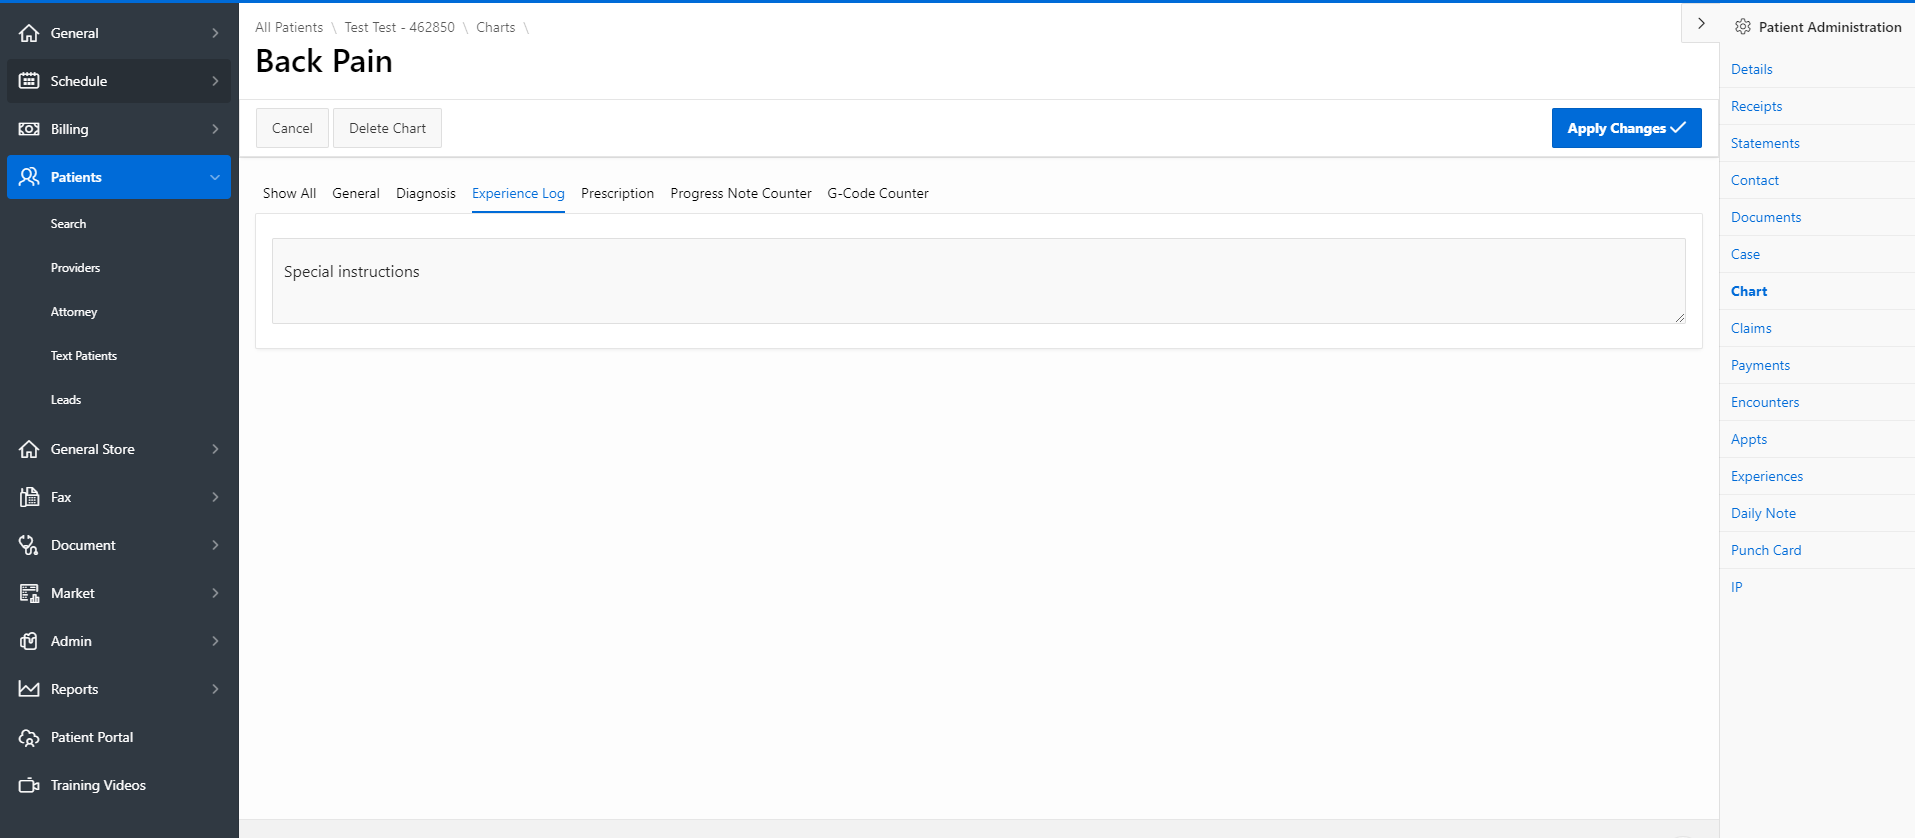
The next section allows you to add special instructions for the Experience Log:
Lower in the chart, you can add notes on the patient's prescription:
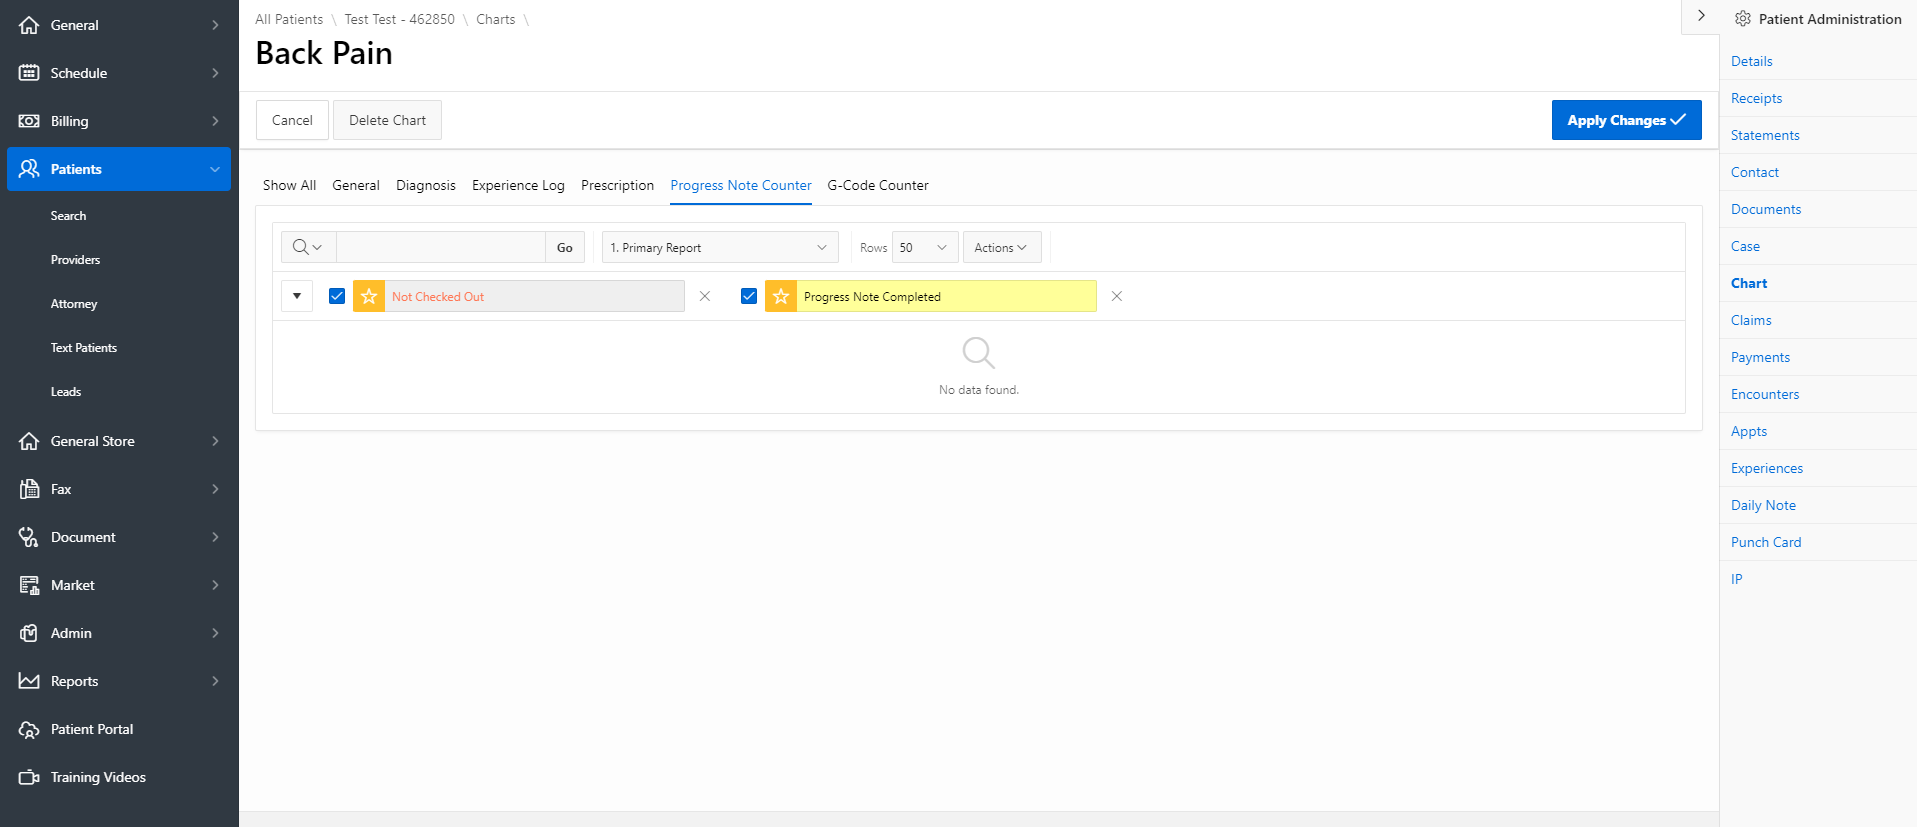
 The last part of the chart is the Progress Note Counter. This will let you know the last time a progress note was completed:
There is also a G-code counter that lets you know when the last G-code was entered on a claim (Medicare):
 If the patient has multiple problems that require different treatments, you may create a chart for each individual problem.
If you need additional assistance, please contact Support@Heno.io