Step 6. Completing Documentation
The type of slot the patient was scheduled under will tell you the type of documentation that the patient will appear in.
Eval Slot Type
If the patient is scheduled in an Eval slot type, they will populate in 4 areas of the Document Tab
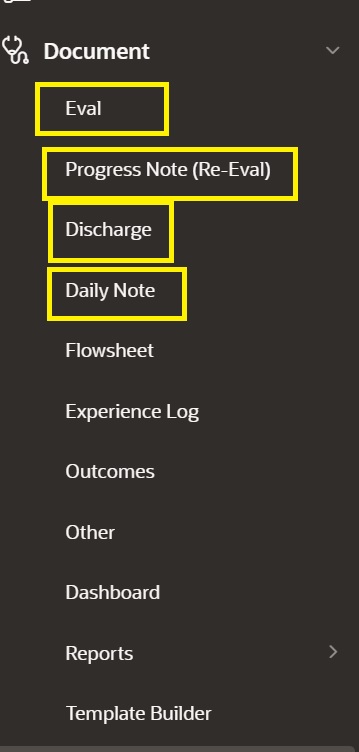
Document tab -> Eval
Document tab -> Progress Note
Document tab -> Discharge
Document tab -> Daily Note
Starting Documentation
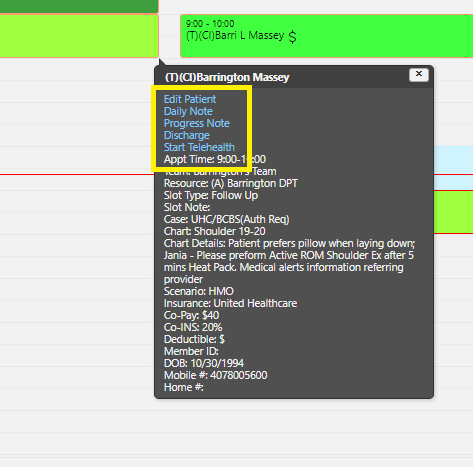
To start the documentation, the patient must be checked in, you can check in the patient by going to the schedule > Select the patient > Click check-in. You have the option to start the Documentation when checking in a patient by clicking Check-in and Start Eval or Check-in and Start Daily Note. Additionally, you can also Hover Over the appointment and Select the Type of Document. This will most likely be the Eval or Daily Note.


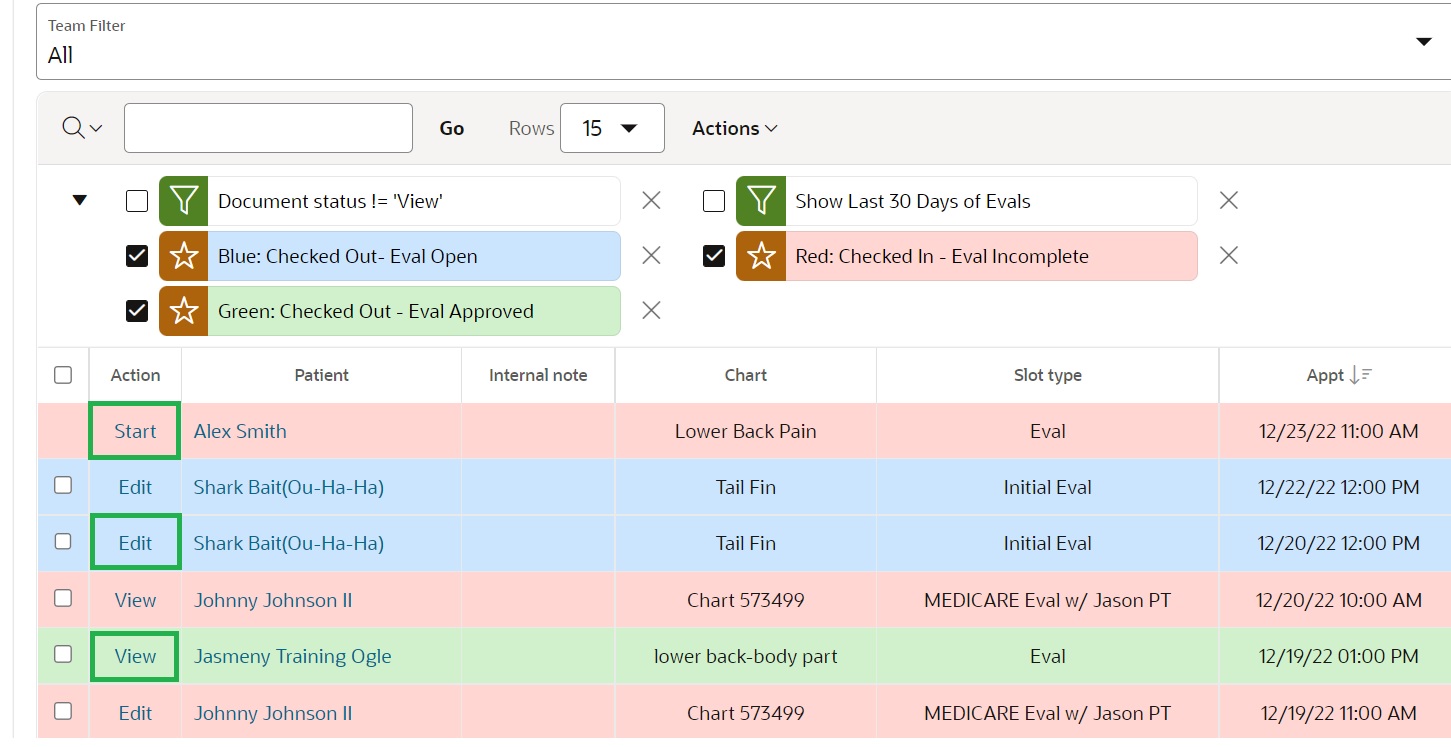
There are 3 Action names:
- Start - This means the documentation has not been started
- Edit - This means the documentation has been started and Saved
- View - This means the documentation has been approved (you are about to addend approved documentation)
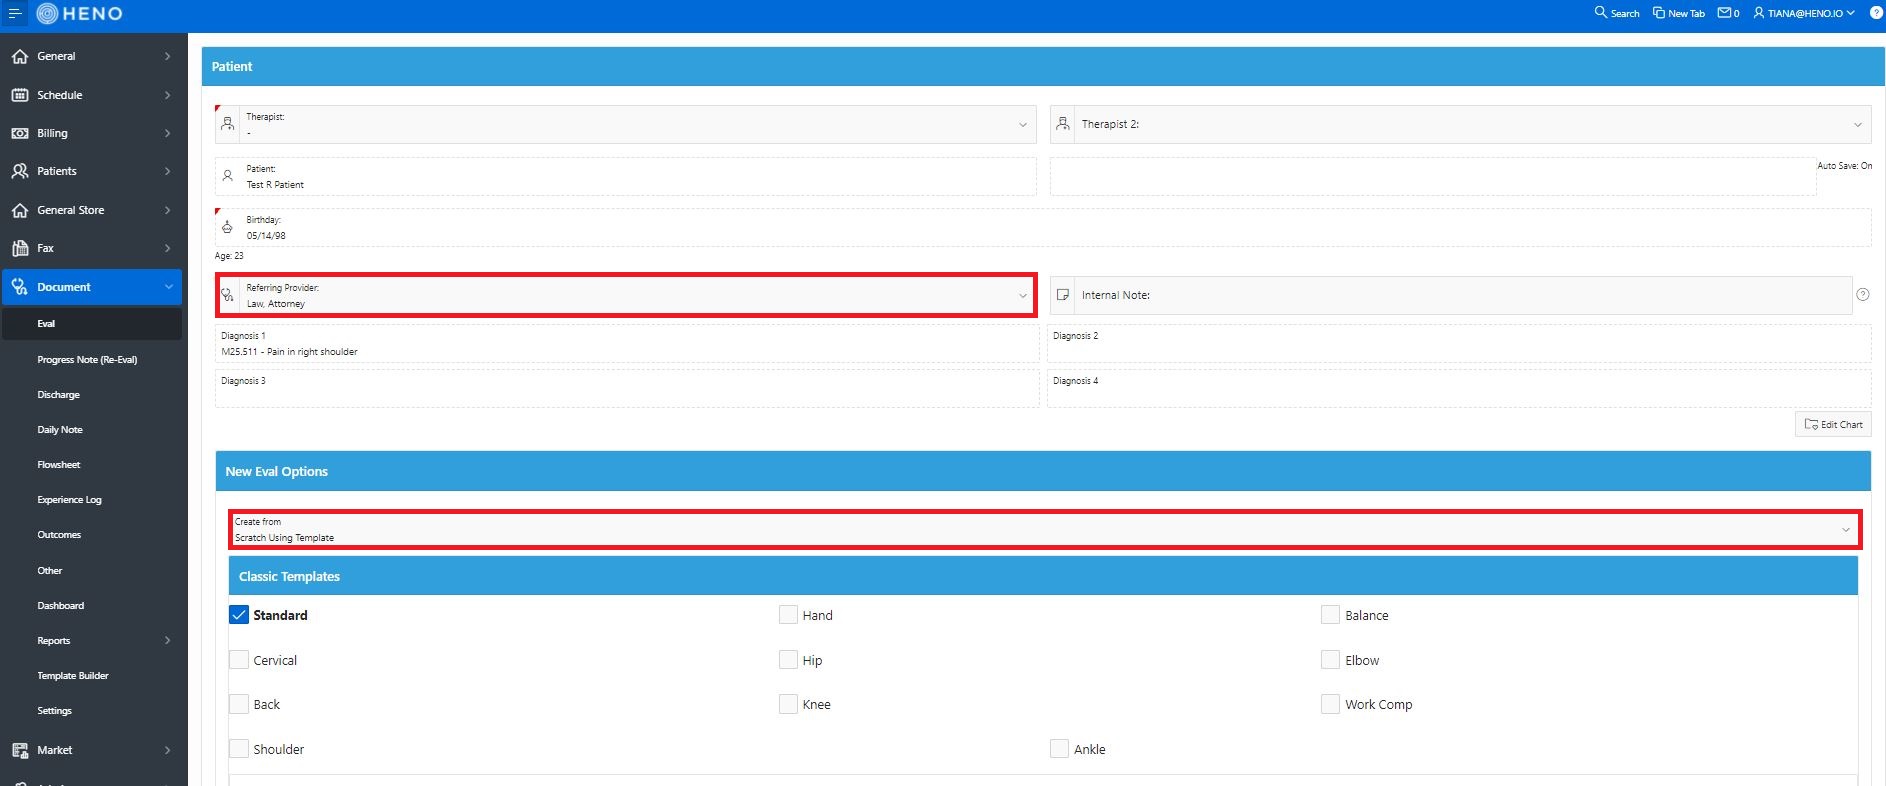
You can choose a couple of different options for your Eval/Progress Note.
- Scratch Using Template: This means you can choose from Classic and/or Custom Templates.
- Previous Document: This means you choose from a previous document from the same or different patient and copy that document into your current Eval/Progress Note.
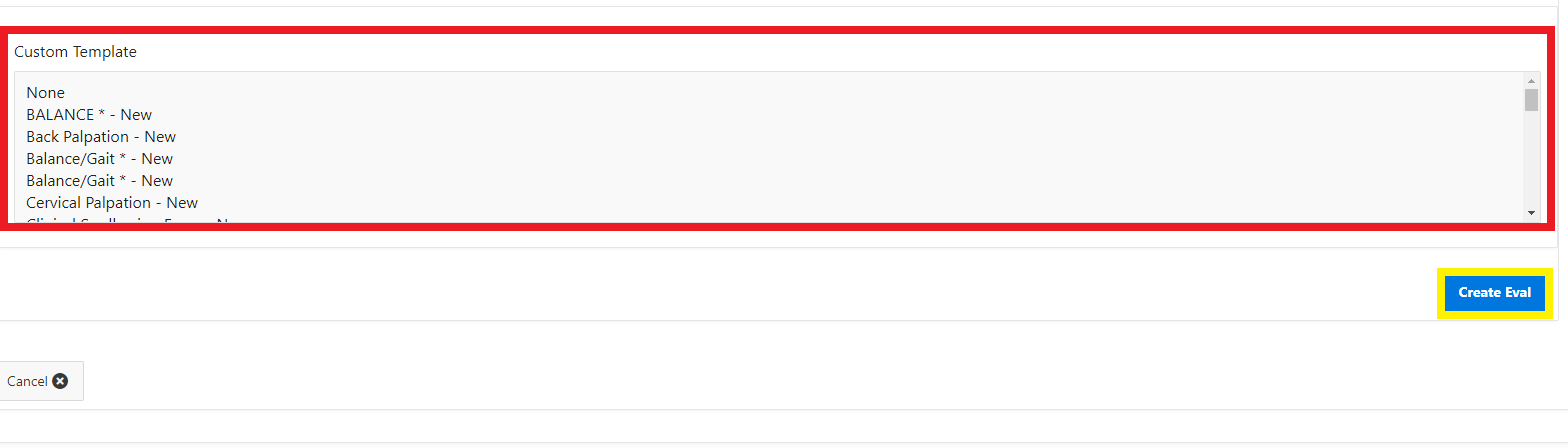
After choosing the template(s) click Create Eval
You then have a couple of options, you can scroll down and see everything or you can click each section in the green box. You can add templates to the document if you forgot a template. You can also add outcomes to the Document.
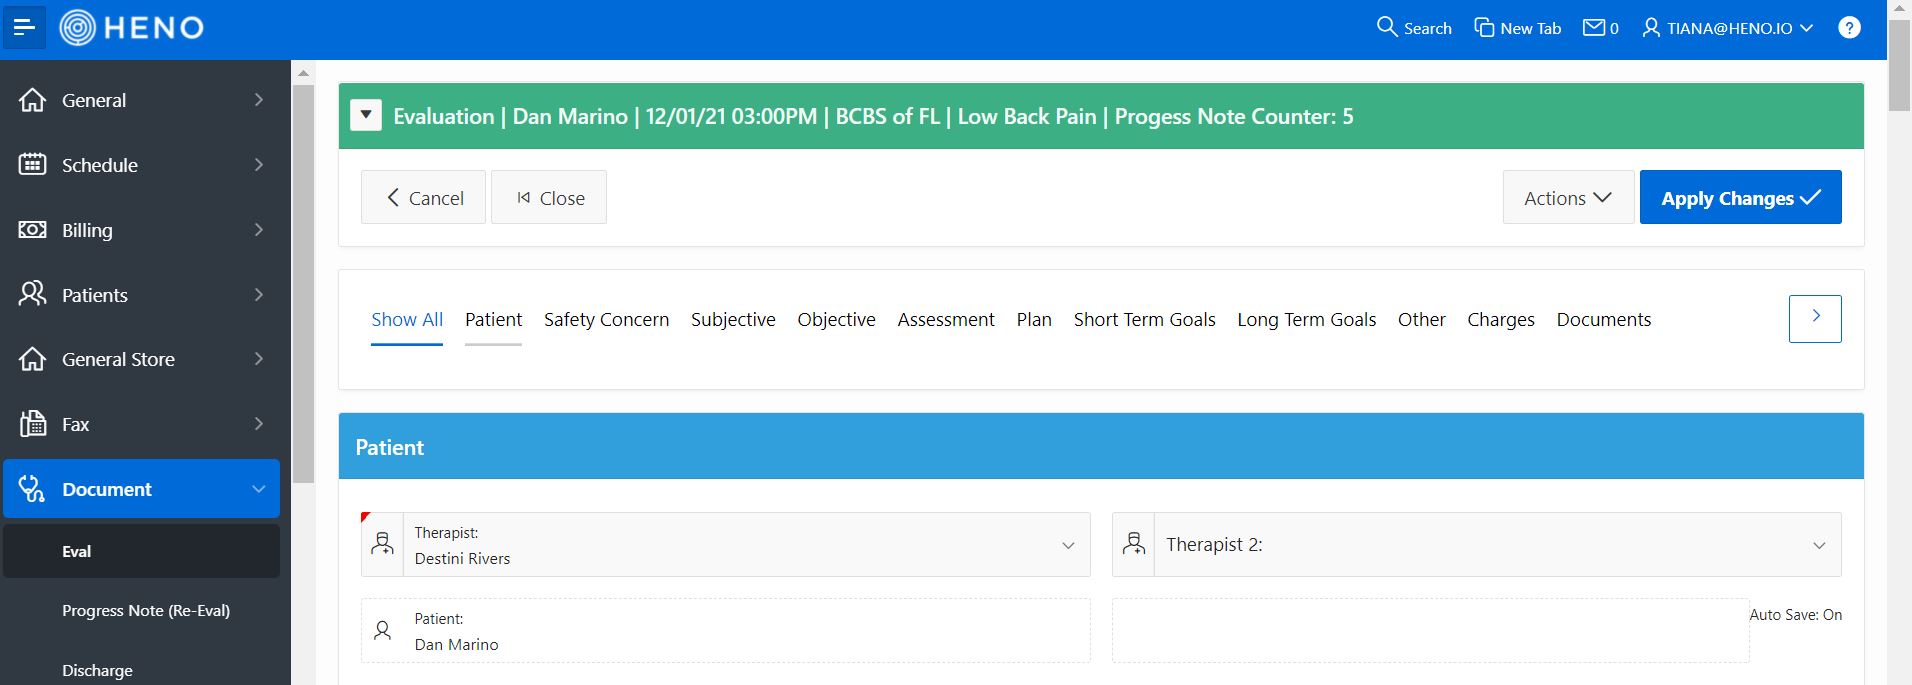

- Red - Templates - If you forgot to add a template to your document or are wanting to add additional templates. You cannot remove the templates once added, but if you do not fill out the information on them, they do not populate on the final document (There are settings in the custom template to allow them to populate without information in them, please check out this article for more information: )
- Pink - Outcomes - To get a functional percentage, you can add an outcome to the document, click here, select the outcome you want, and fill it out. **Please Note: if you do not see an outcome you use in your office, please email support@heno.io with the PDF and they will add it

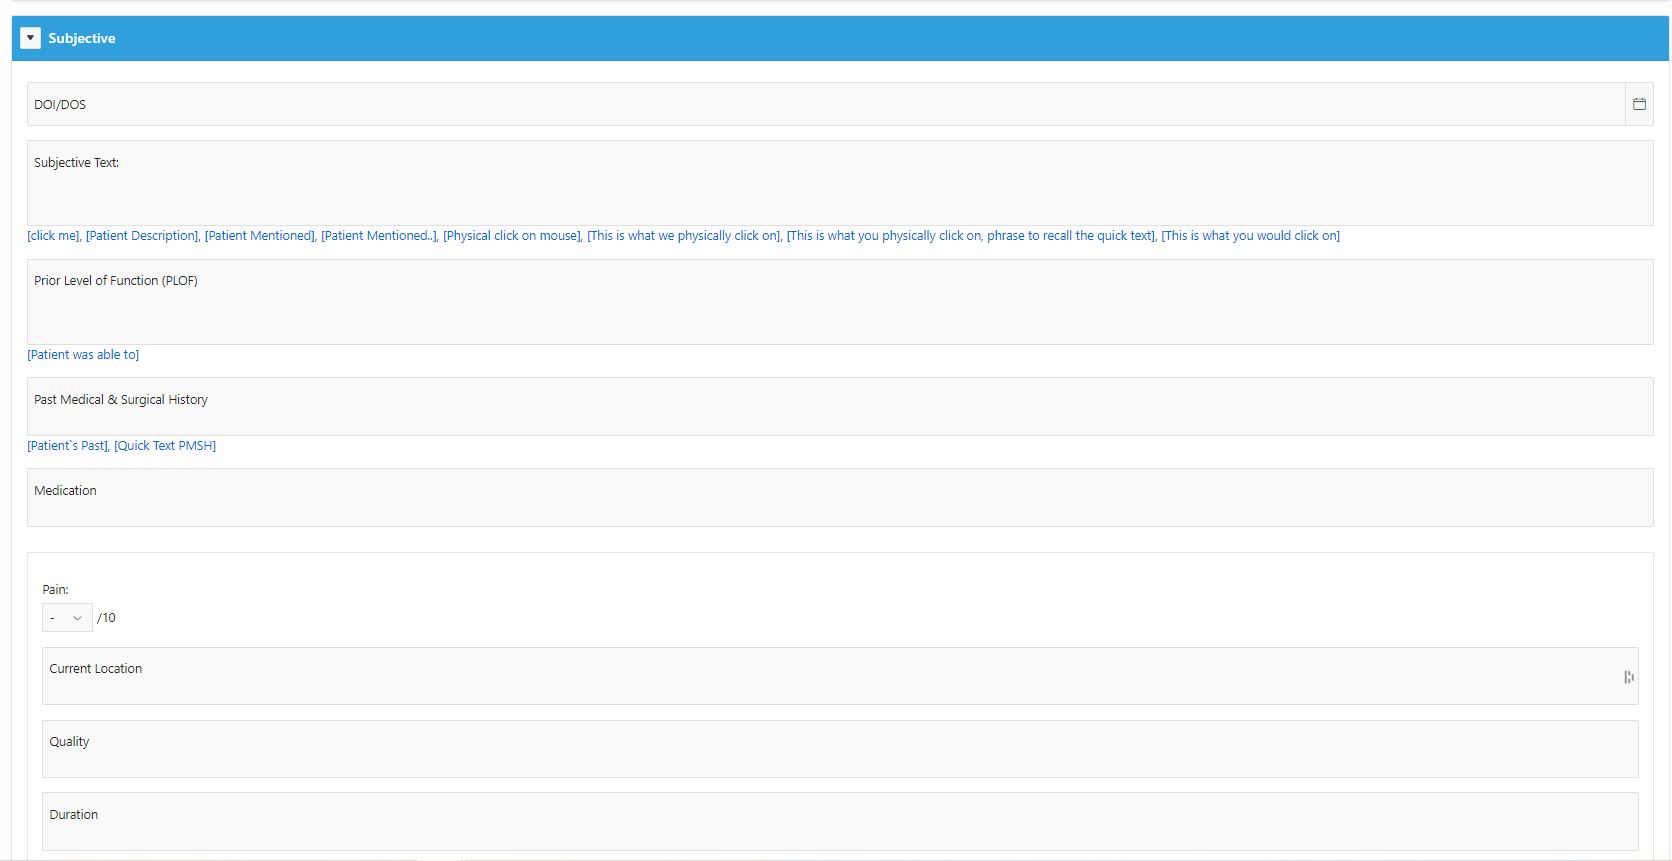
- Green - Documentation tabs - Will allow you to go through the documentation either by showing all and scrolling down or the specific part of the document
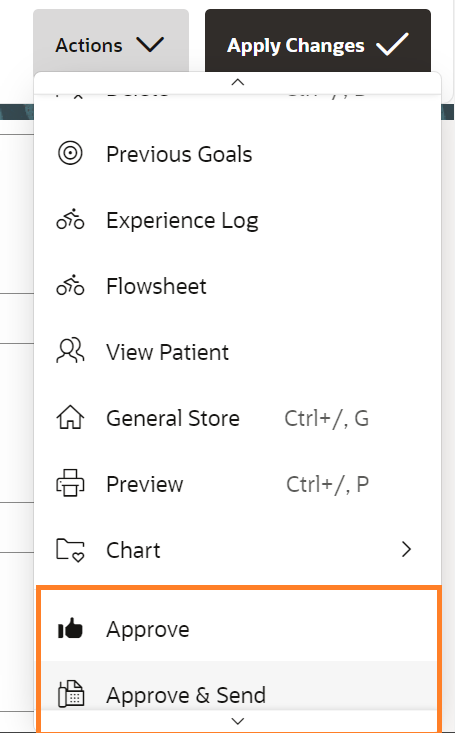
Once you have completed your document, you can Preview it (this will download a PDF), Approve it, or Approve and Fax it to the Doctor.
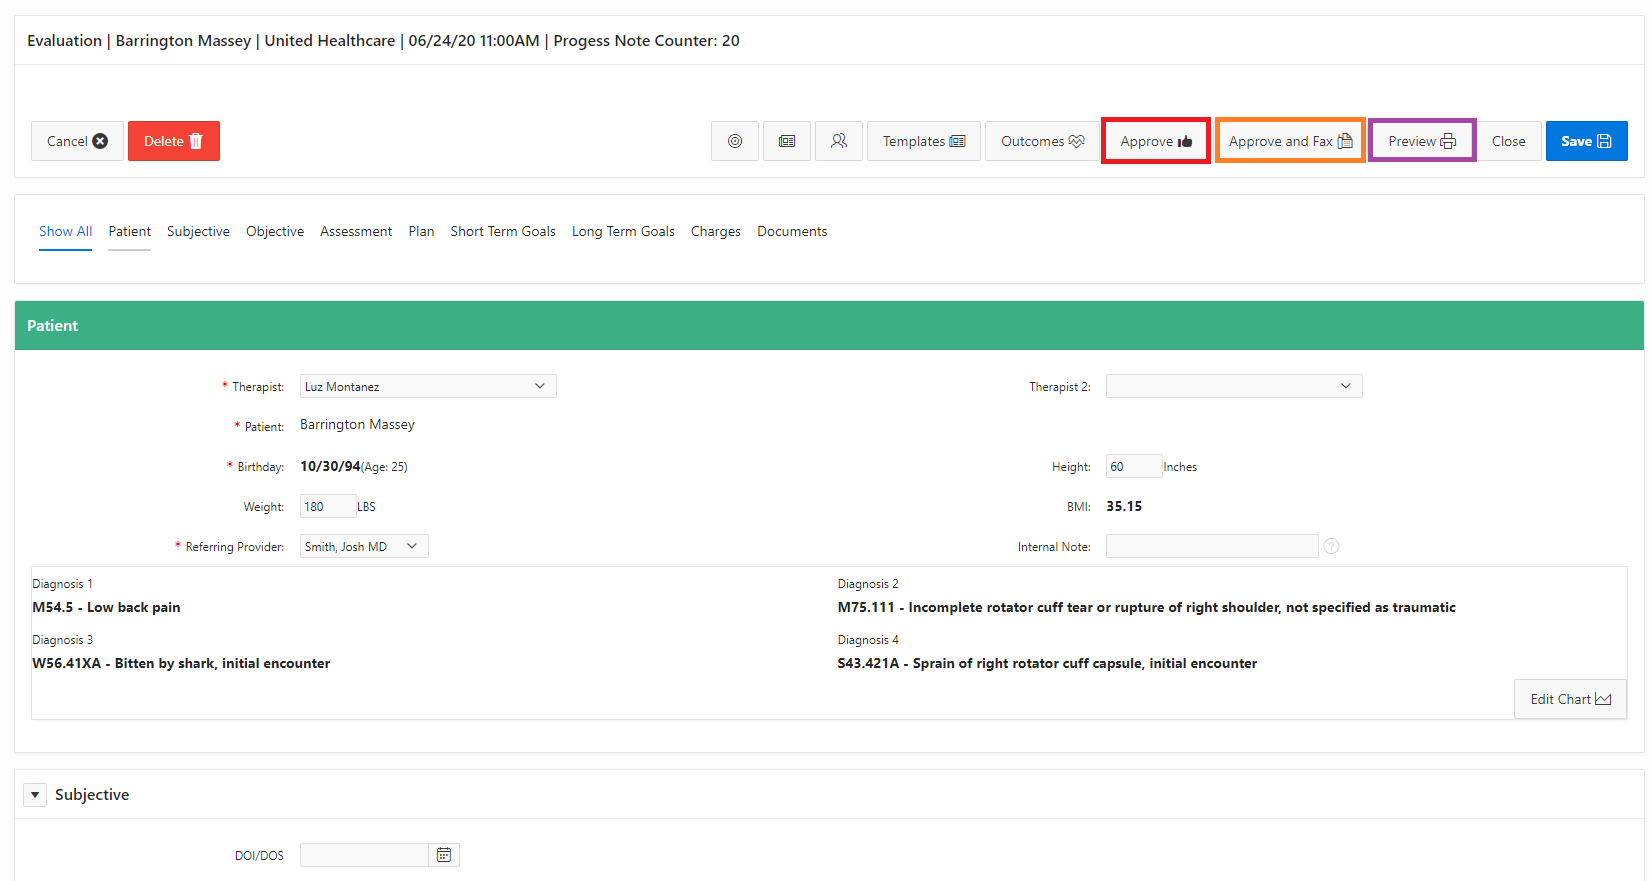
If you are unable to finish that document while the patient is present, that is ok. You are able to Save the Close to finish it later.

Non - Eval Slot Type
If the patient is scheduled in a non-eval slot type, they will populate in 4 areas of the Document Tab:
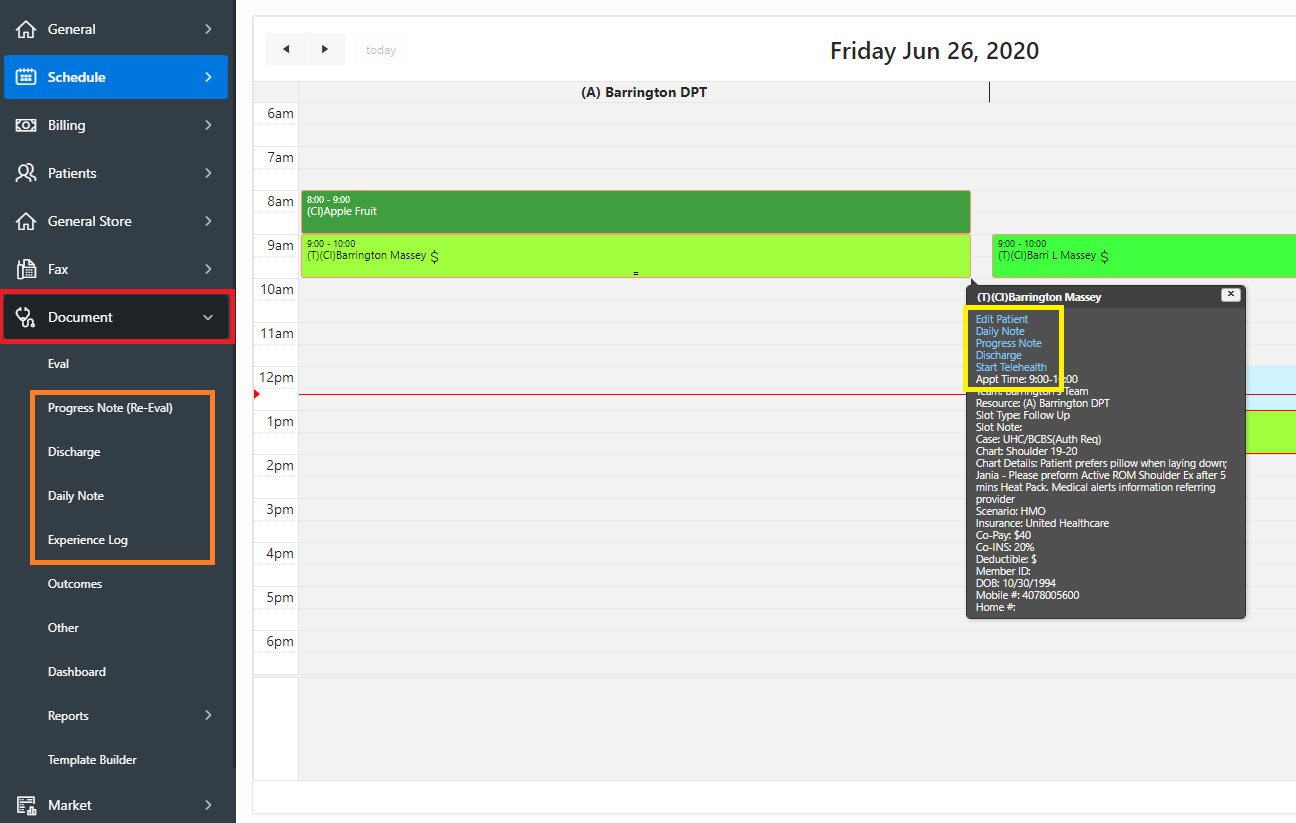
- Document tab -> Progress Note
- Document tab -> Daily Note
- Document tab -> Experience Log
- Document tab -> Discharge
To start the documentation, you will want to start by Hovering Over the appointment and Selecting the Type of Document. Below is going through the Daily Note.
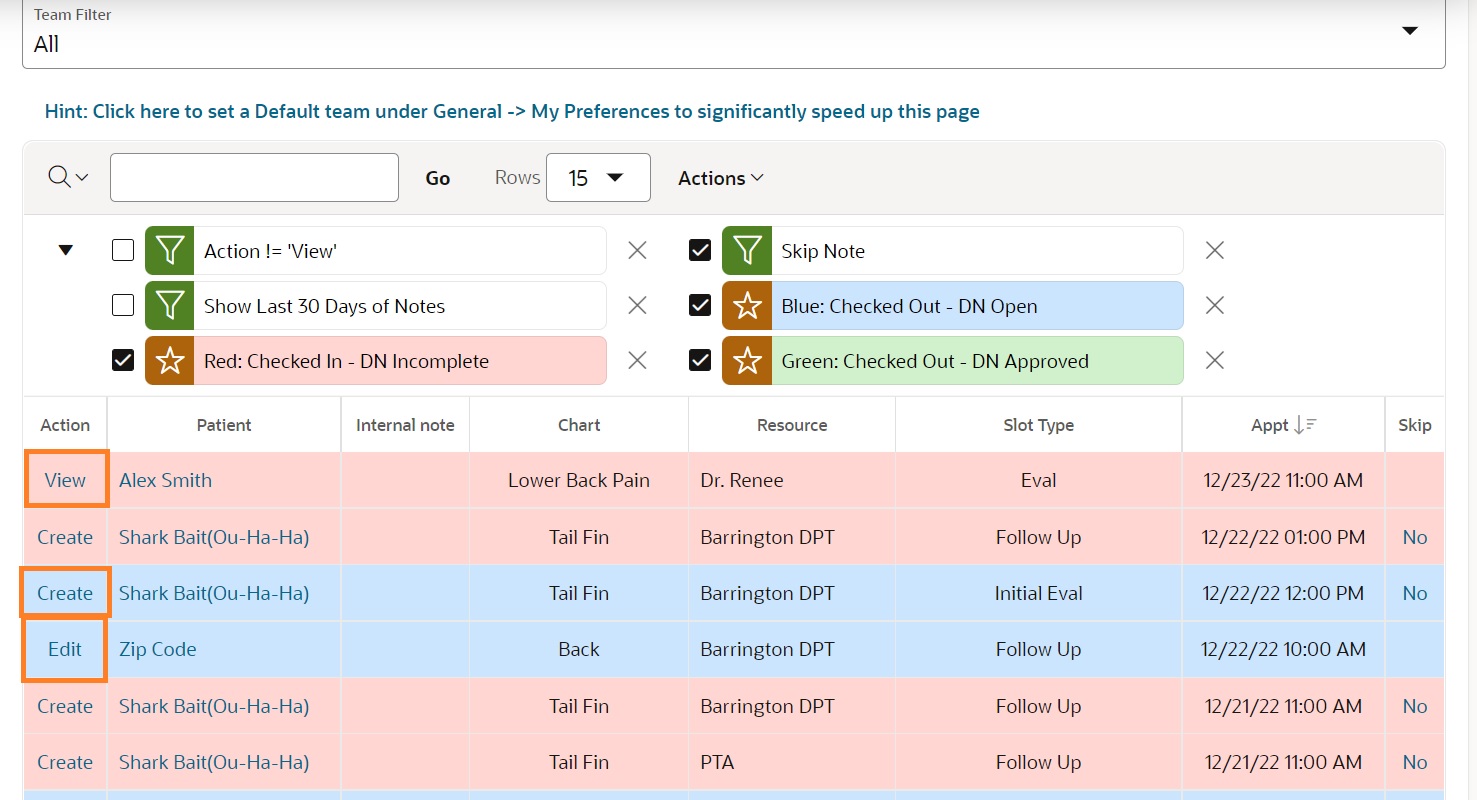
On the main page, you will see all patients' check-in that needs to be completed. **You are able to separate by the scheduling team in the drop-down at the top of the page.
- The team (yellow) refers to a specific therapist's patients. This can be changed to the entire practice.
- The action column
- Create - This means the documentation has not been started
- Edit - This means the documentation has been started and Saved
- View - This means the documentation has been approved (you are about to addend approved documentation)
- Slot type -refers to what type of appointment the daily note is attached to.
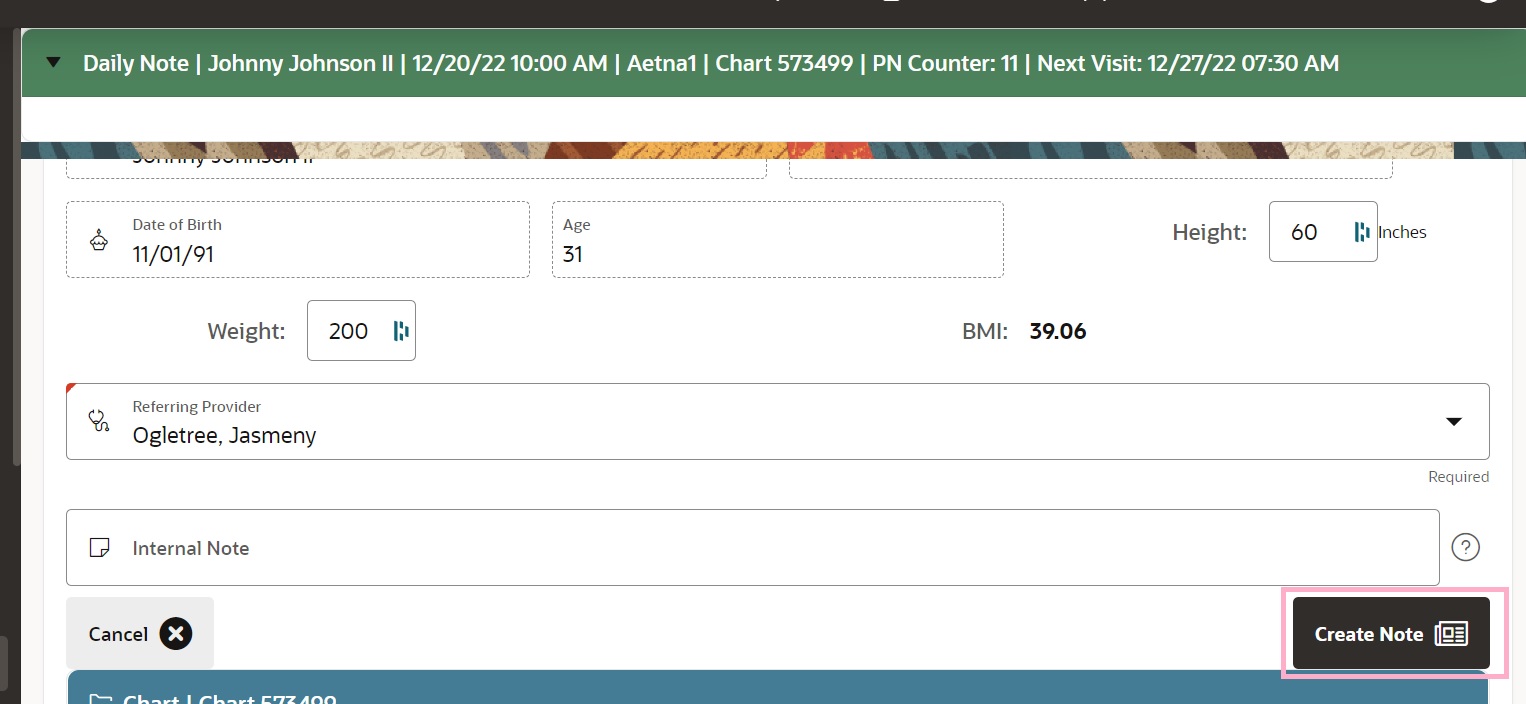
Here you will review all of the information pertinent to the patient's chart. You may change the therapist and referring provider and you may edit the patient's chart by clicking on the person icon at the top right of the screen (black). Click " create note".
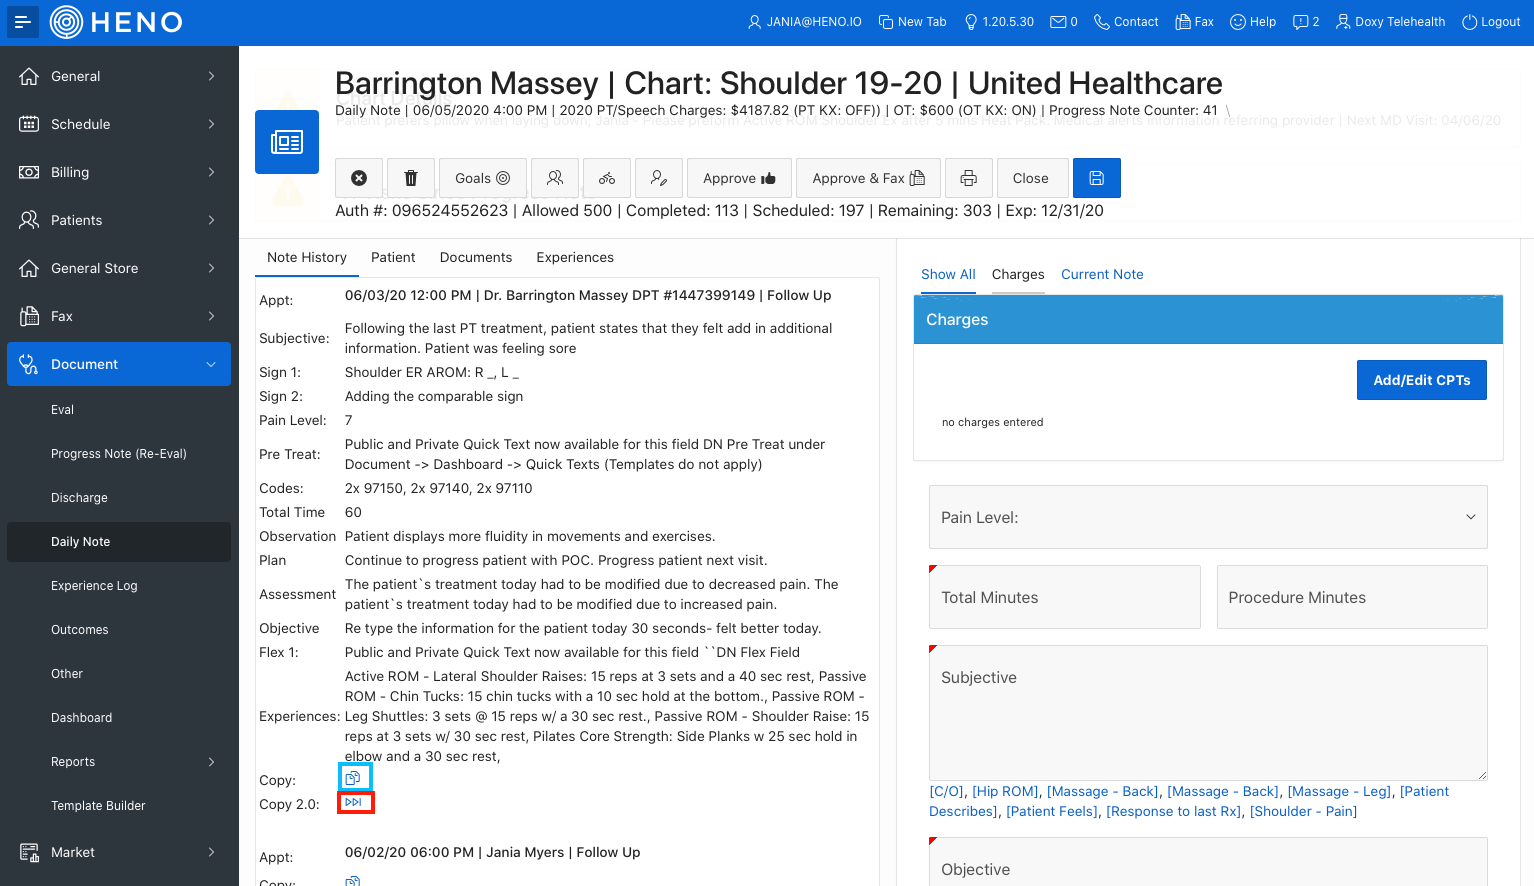
This is the daily note view.
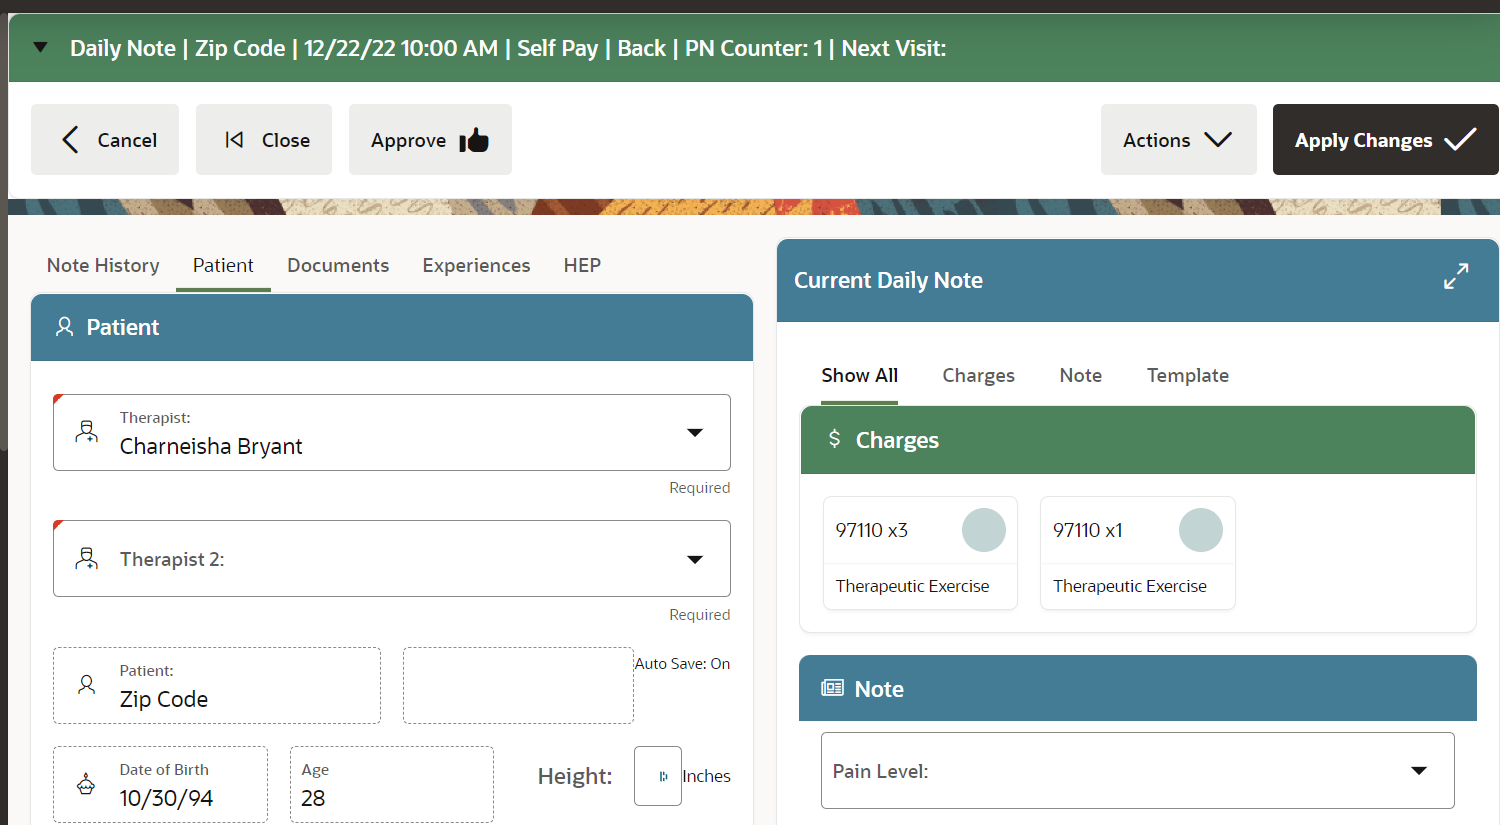
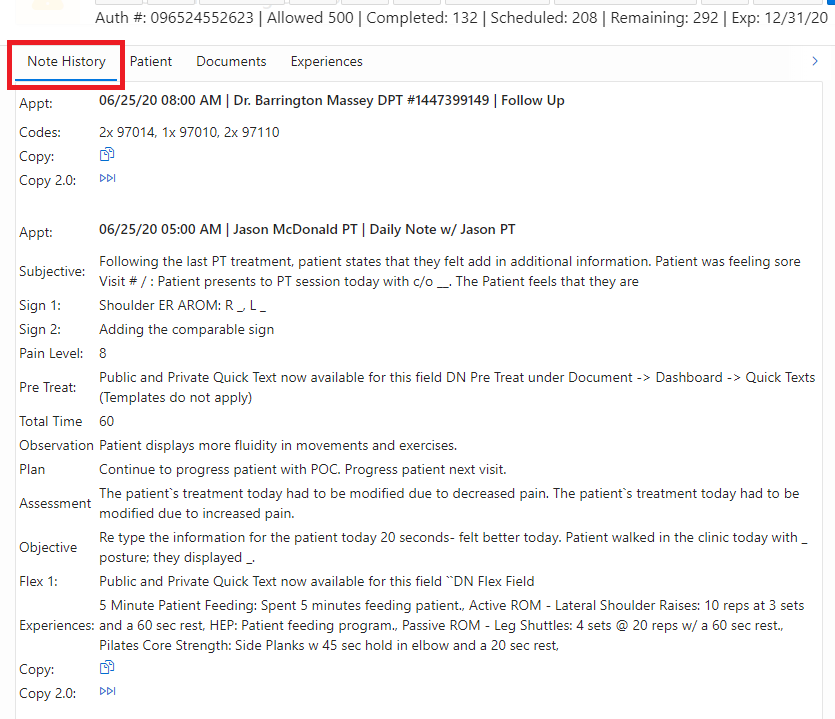
The left side of the screen tabs:
- Note history- View documentation from previous notes, you may copy a previous note into the current note by clicking on the paper icon (orange). You may then update the note with current patient presentation.
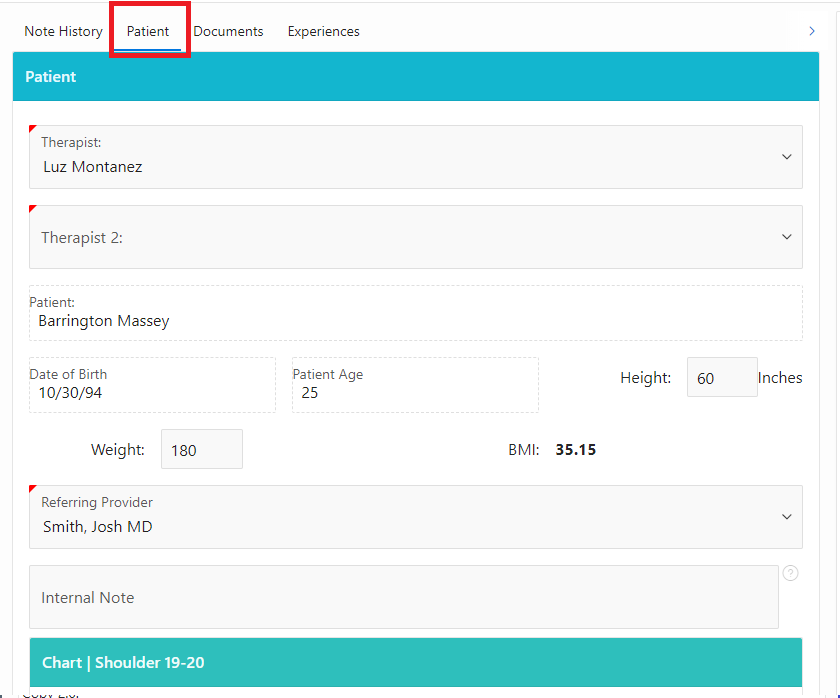
- Patient- Review, change and edit the patient chart.
- Documents- Review any documents that have been uploaded to the patient chart

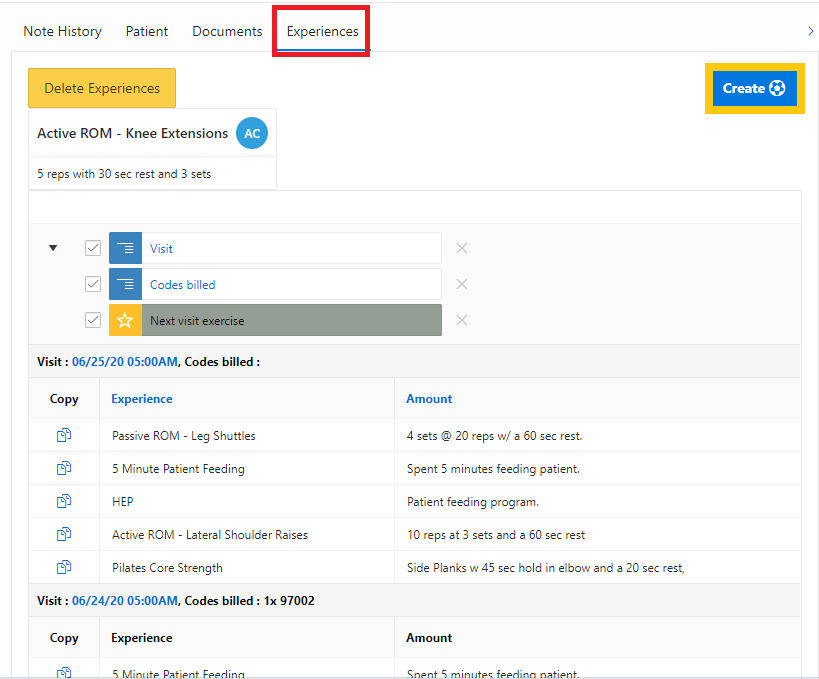
- Experiences- Review / create new experiences
The right side of the screen- current note:
- The current note allows you SOAP to be typed as free text (text boxes are expandable and customizable)
- No quick clicks or templates are available for the daily note.
You have your choice to type on the blank document or use one of the copy options:
- Quick Copy - Will copy just the previous note.
- Copy - Will allow you to select to copy the note, experiences, CPT codes, and change the provider.
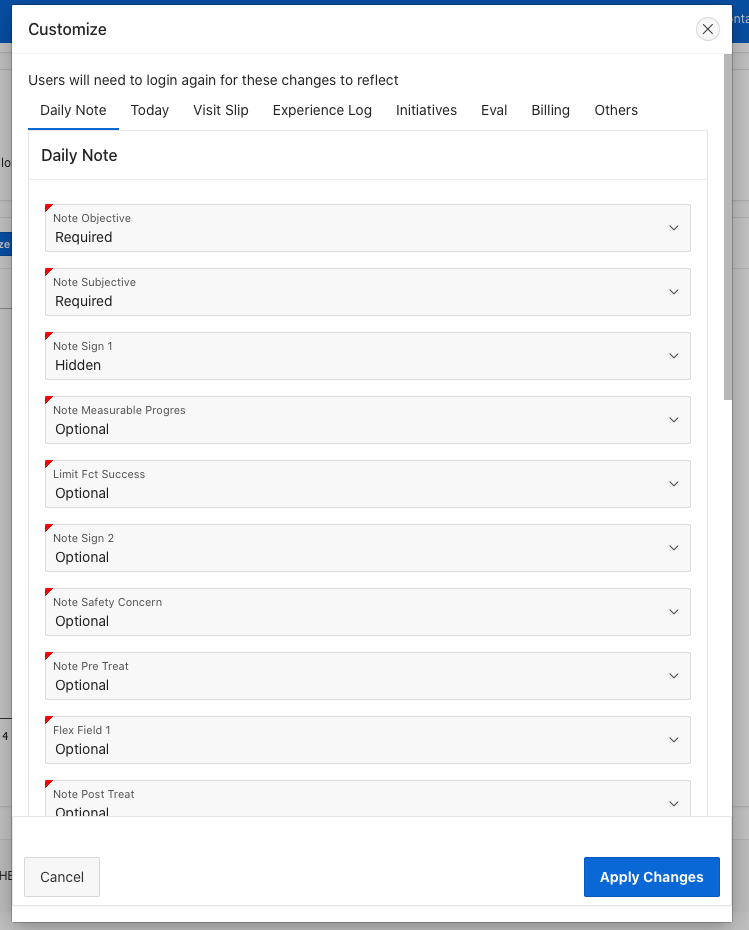
Click the customize button to edit the text boxes you want to appear in your daily note documentation. **Reminder, anything that is left blank will not be visible in the final document.
 In this screen, you will select the boxes you want as part of your daily note. you have the options to have them:
- Optional - shows the box, but not required to approve
- Required - shows box and must be filled out to approve
- Hidden - will not show box on the daily note
Apply changes, log out and back into the system for these changes to reflect on the current note. You may also access this screen from the customize button in the general tab.
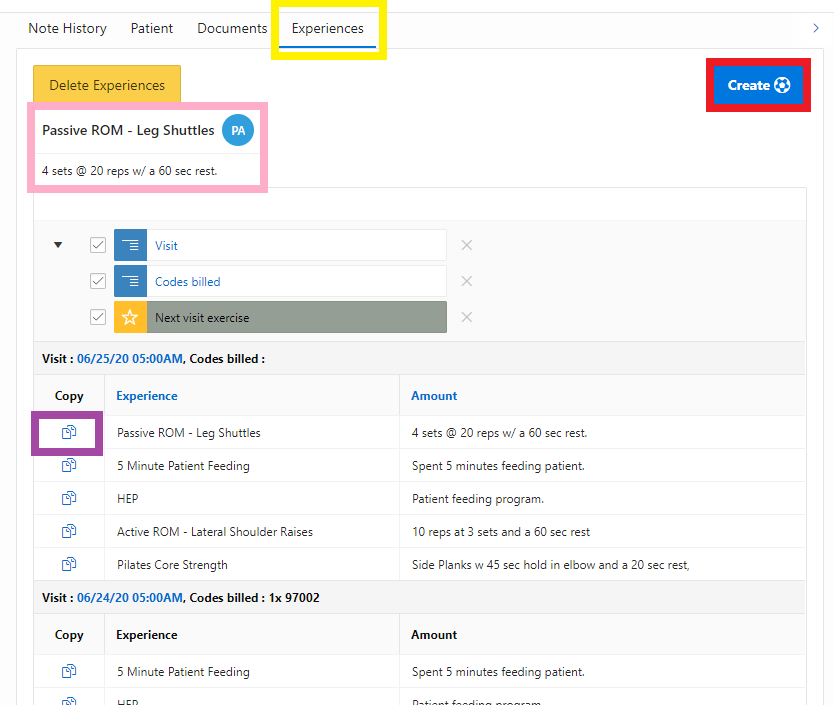
Daily note experiences allow you to view and copy previously logged experiences. Click on the copy line symbol (purple) to copy each experience. To edit the information for an experience click on its tab (pink). To create an experience, click on Create (red).
Once documentation is completed, click "Apply Changes" and preview (yellow) the document prior to approval.

If Completed, you can Approve or Approve and Fax.