
EDI Status Review
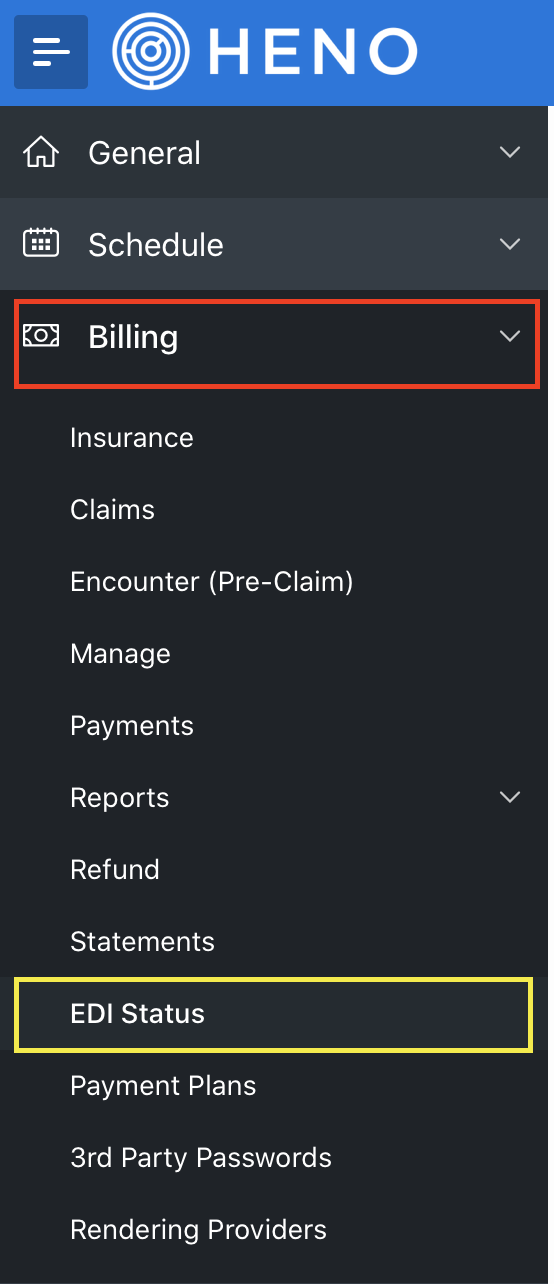
Once you have submitted your electric claims, you will receive a status from Office Ally and Jopari claims inside the Billing tab -> EDI Status in a couple of hours after submission.
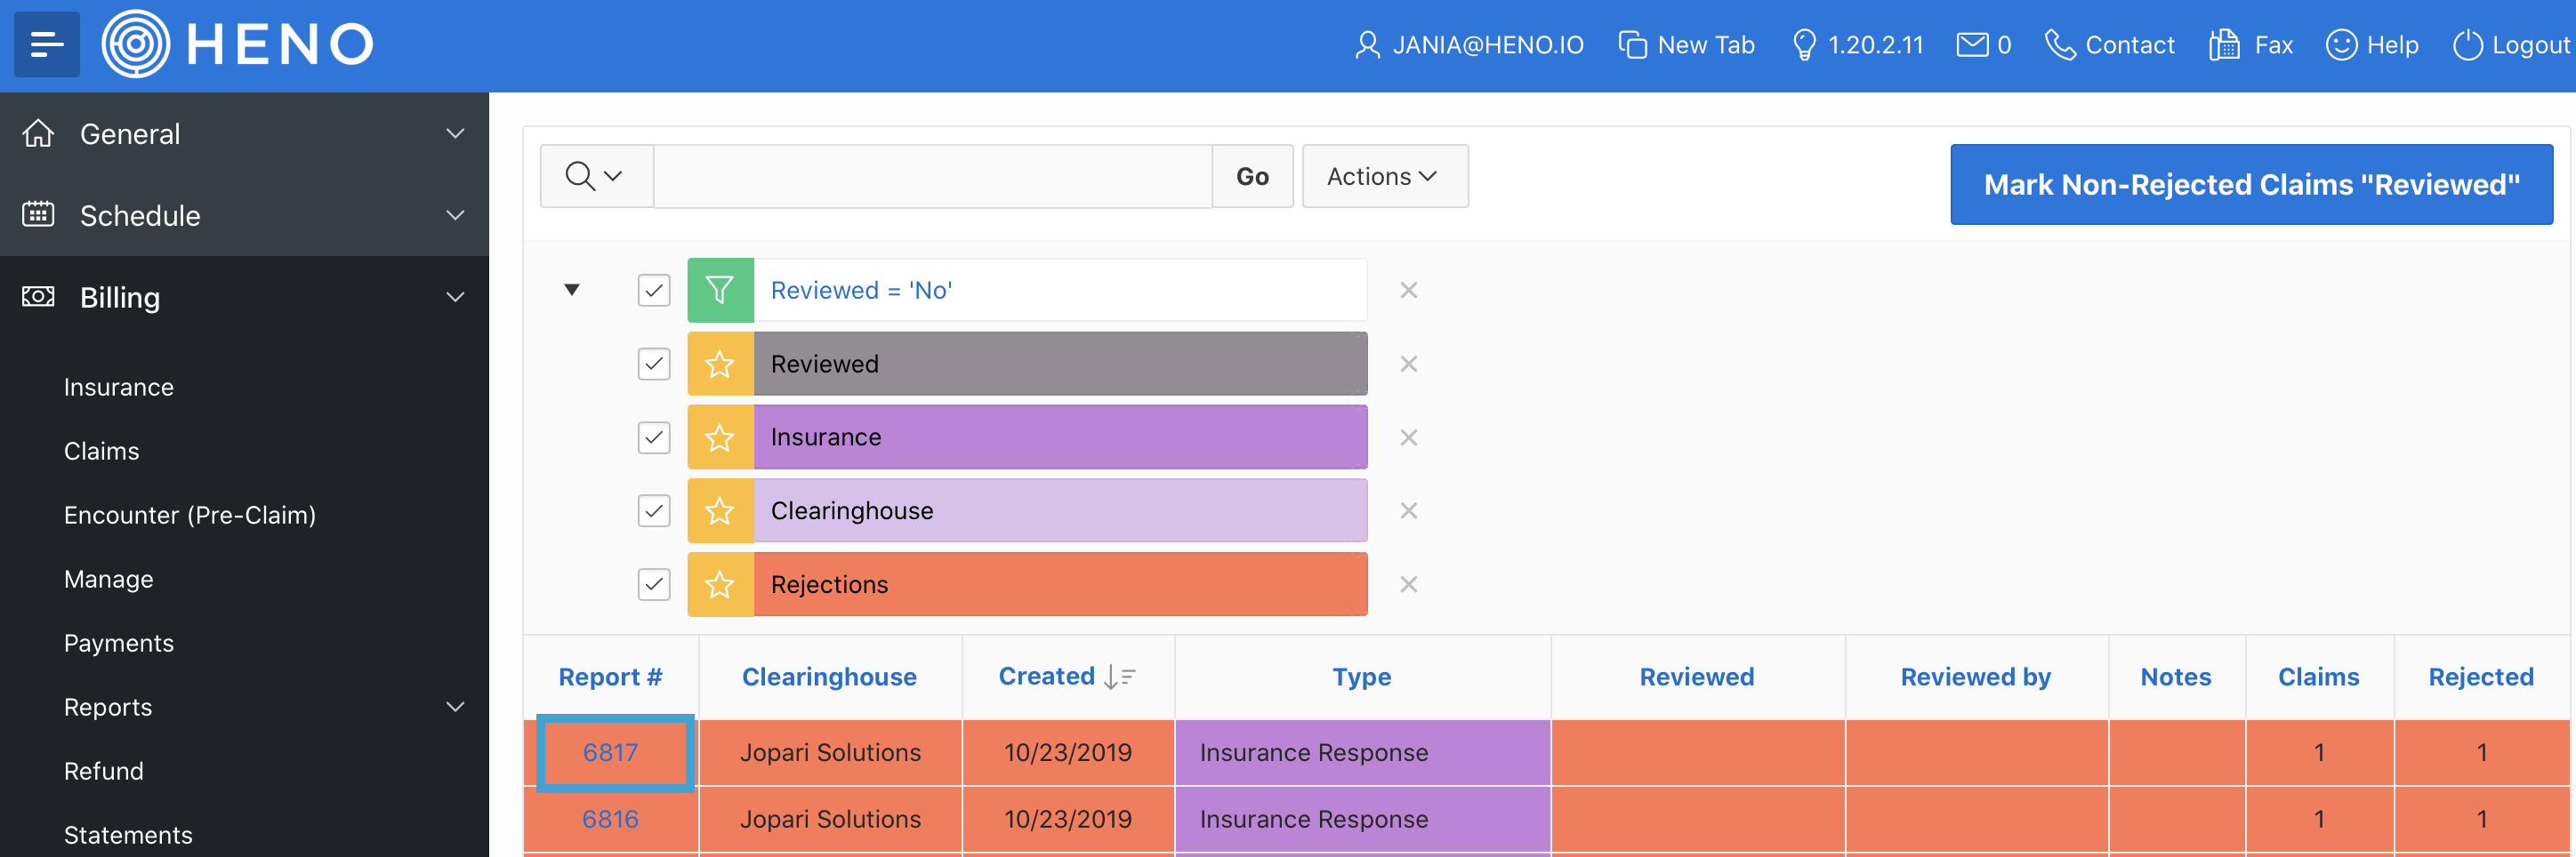
In this page, you will be able to see the date of submission, how many claims were accepted or rejected, and be able to review these statuses:

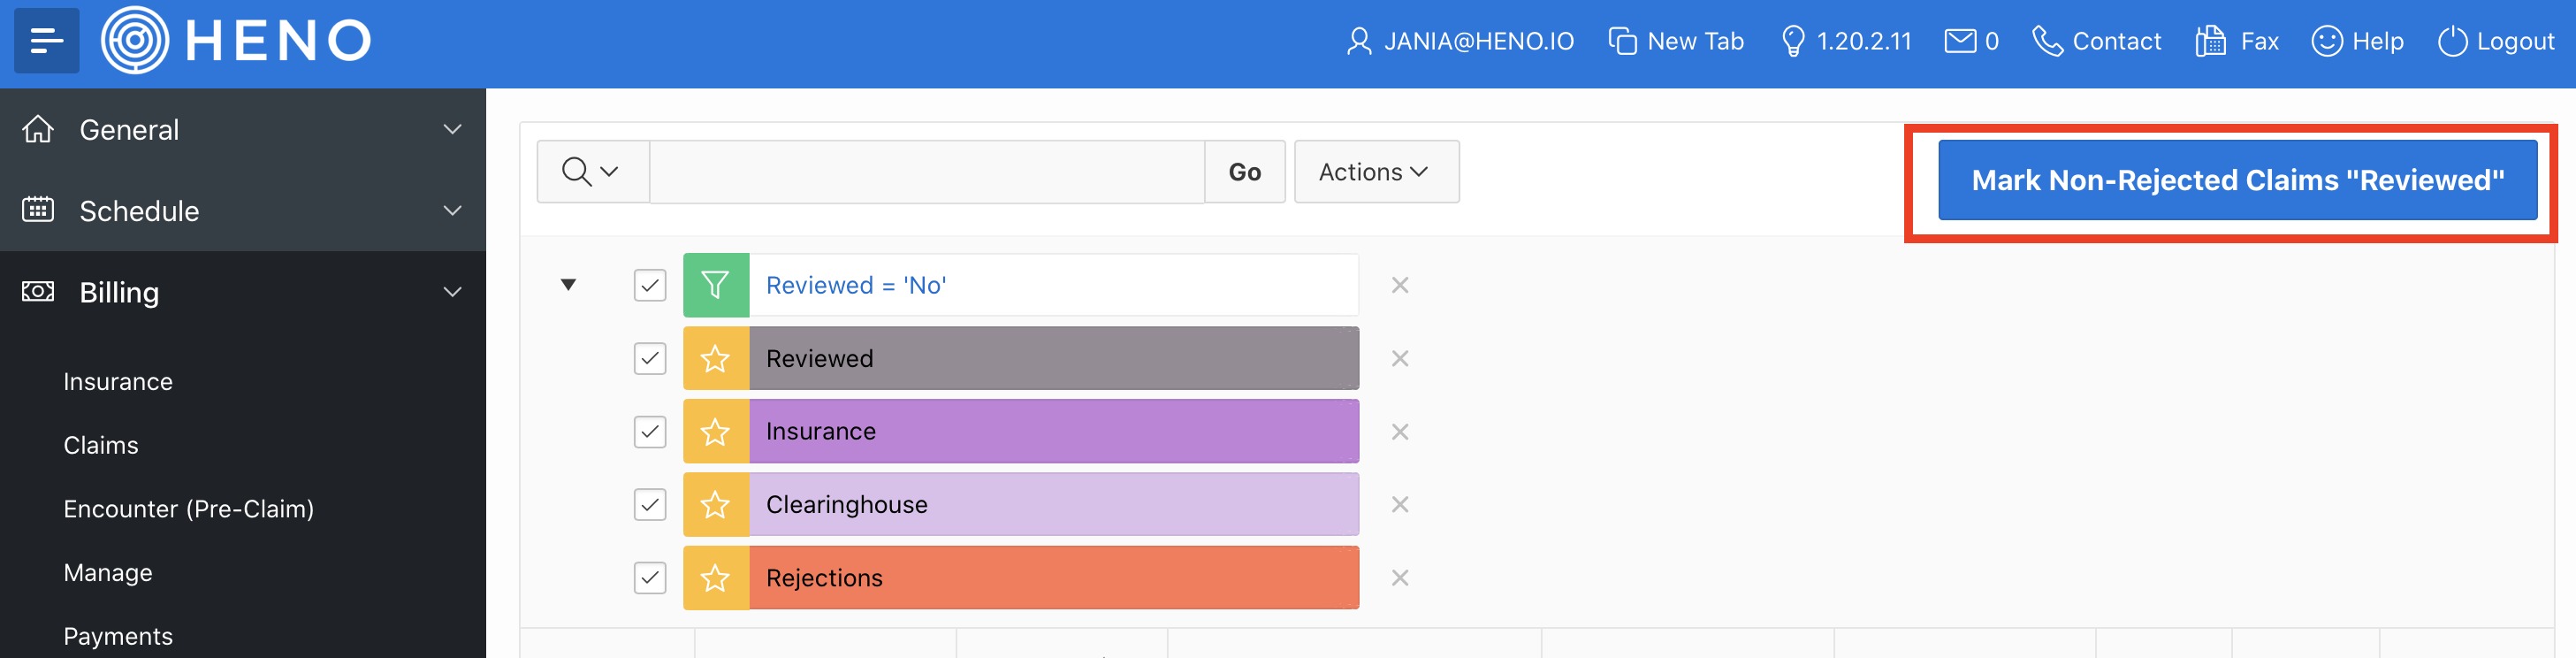
If there are no rejections, you can click the button at the top of the screen to Mark Non-Rejected Claims "Reviewed". This will date the review, user who reviewed, and remove them from your task list:
If you are reviewing a status, you will click on the Report # hyperlink to go into that specific status:
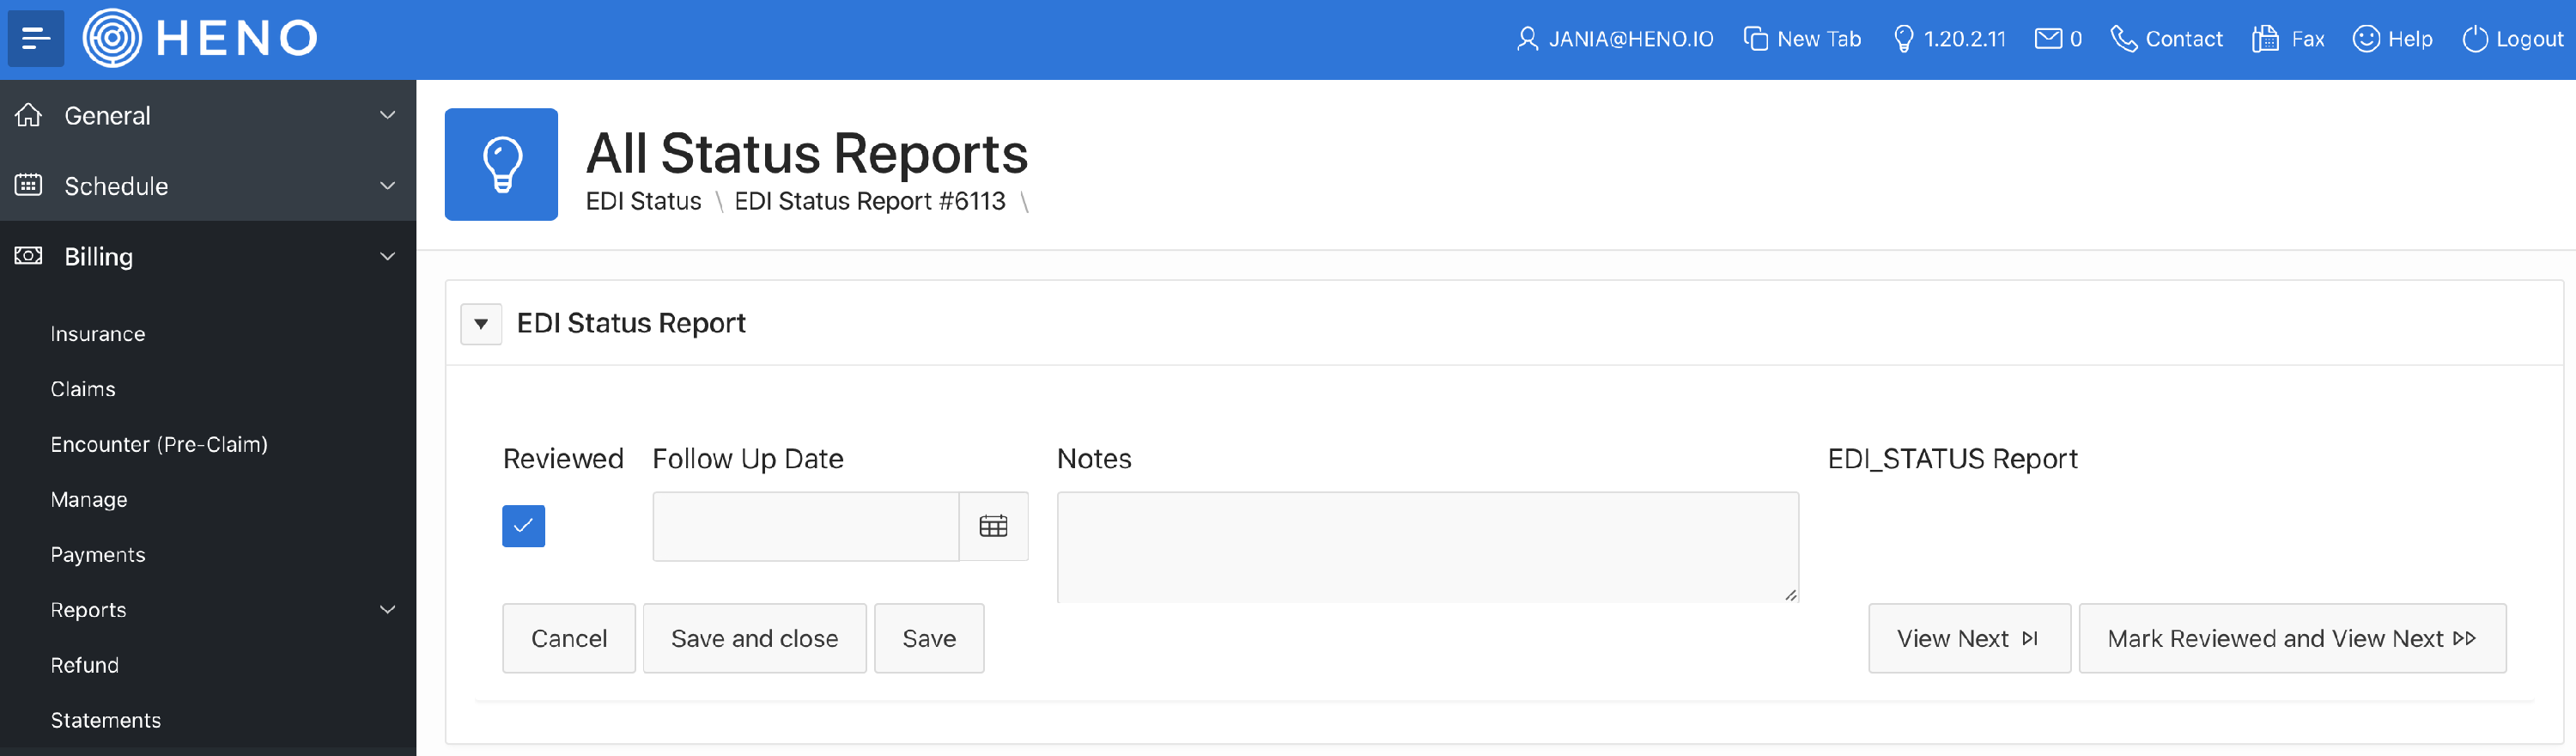
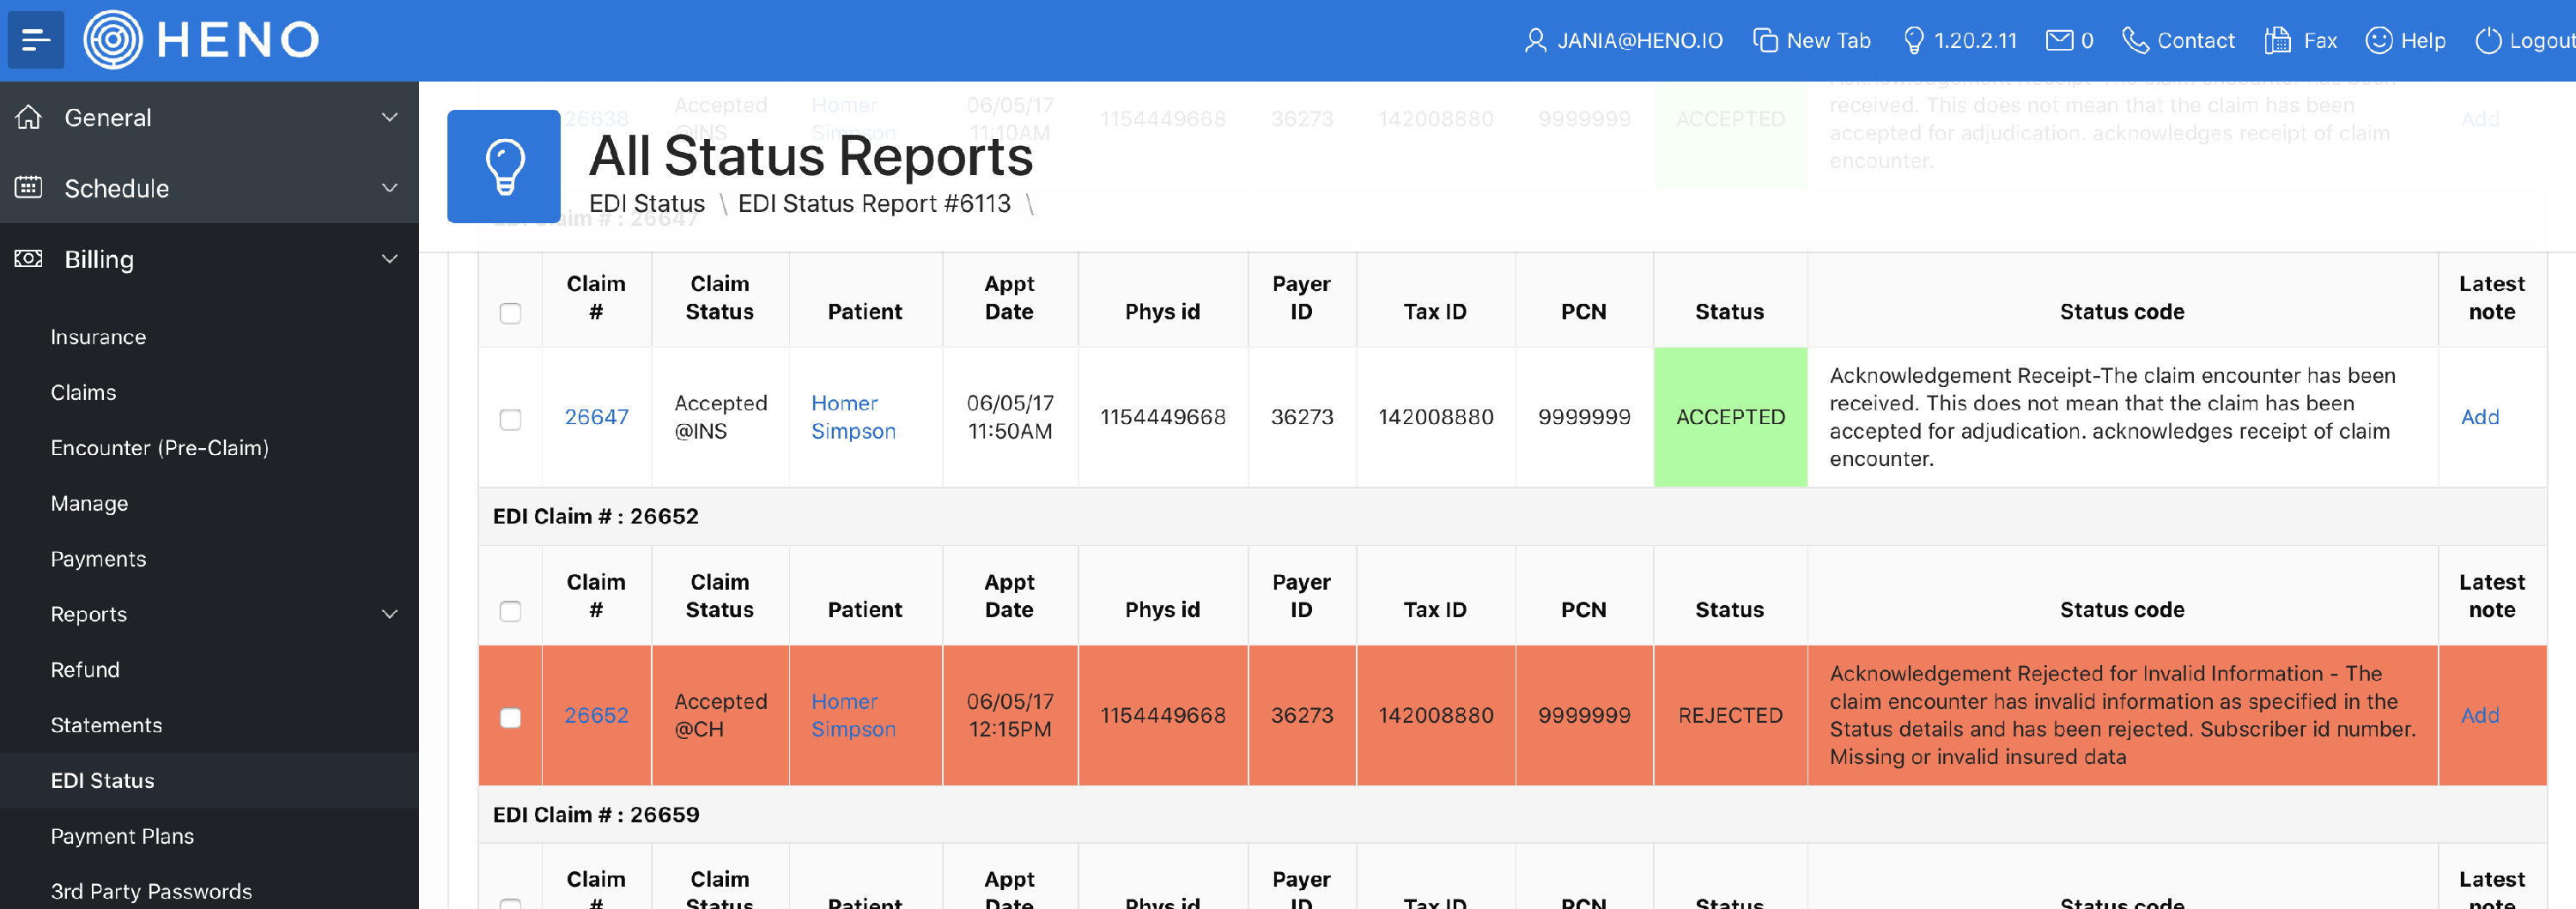
Inside the report, you will get a breakdown of the information passed back from the insurance and any rejection codes that have been passed back.
The top of the page allows you to Review the file, add a follow up date, and any notes you want to add to this report specifically. Under the EDI_STATUS Report, you will be able to review the text file that came back from the clearinghouse/insurance that is broken down below:
On the individual claims, you can see what was accepted and rejected and any notes/rejection codes that have been passed back:
You can click on the Claim Number to view that specific claim and view more information. This is where you can access the encounter and add any changes that may be need for the claim specifically:

You can re-bill a claim from this screen. Click on the check box to the left of the claims:
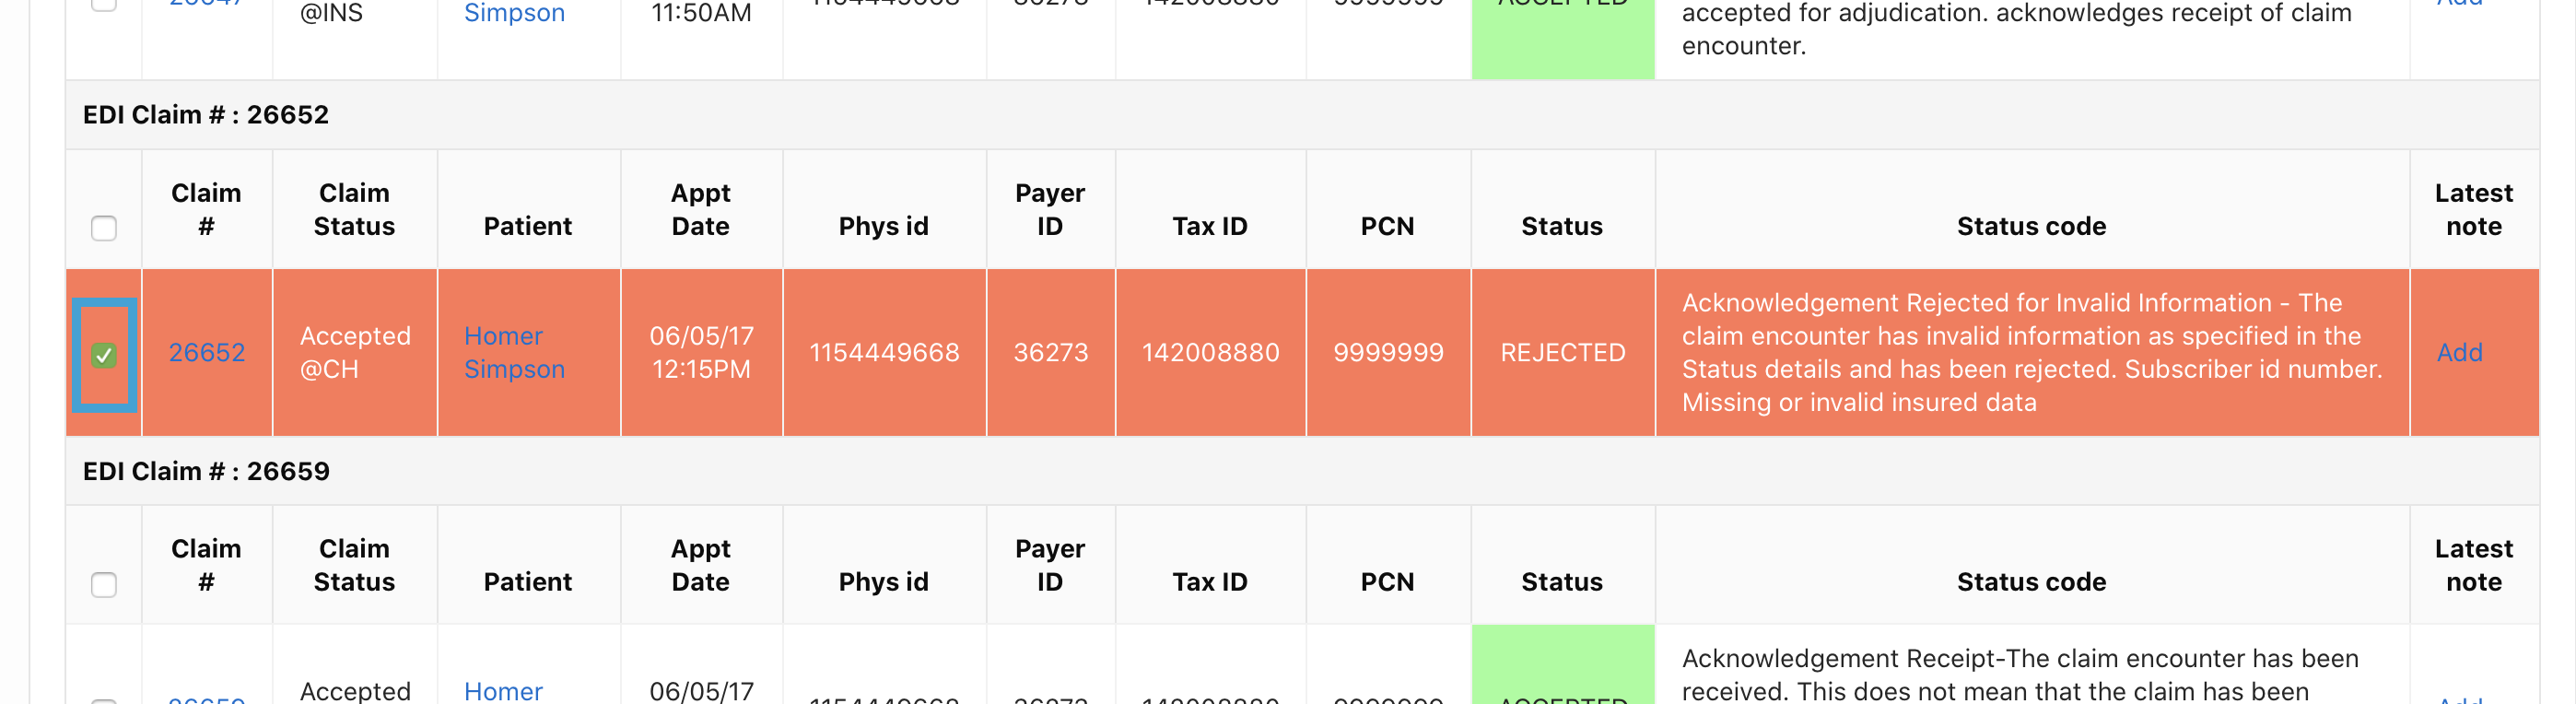
Then scroll to the top of the page and select the re-bill options:

The options are:
1. Re-bill & send now: this will refill the original claim and claim settings and skip the Send Claims bucket
2. Re-bill & Send Later: this will refill the original claim and claim settings and place the claim in the Send Claims bucket
3. Assign Balance to Patient: this will change the claim status to bill patient and send it to the statement area
4. Re-bill/Update & Send Later: this will pull all of the changes in the patient, insurance, or practice level (example below) and place the claim in the Send Claims bucket
You will want to use option 4 if you have updated the insurance information (i.e. payer ID) , update the patient information (i.e. date of birth, insurance ID, etc.), or the practice information (i.e. address)