General Store - Taking Inventory
General Store > Inventory
*Please note: You must have have your Vendors set-up and your Items set-up in order to take inventory. If you do not have them set up, please go to the Vendor Set-up and Item Set-Up articles.
The Inventory section allows you to set up your Vendors, create Open Receives (when receiving inventory), Open Inventory (for when you are ready to take Inventory) and make any adjustments you need when you are done taking inventory.
When you are ready to take inventory for the day, you will want to click on the Open Inventory section highlighted in blue.
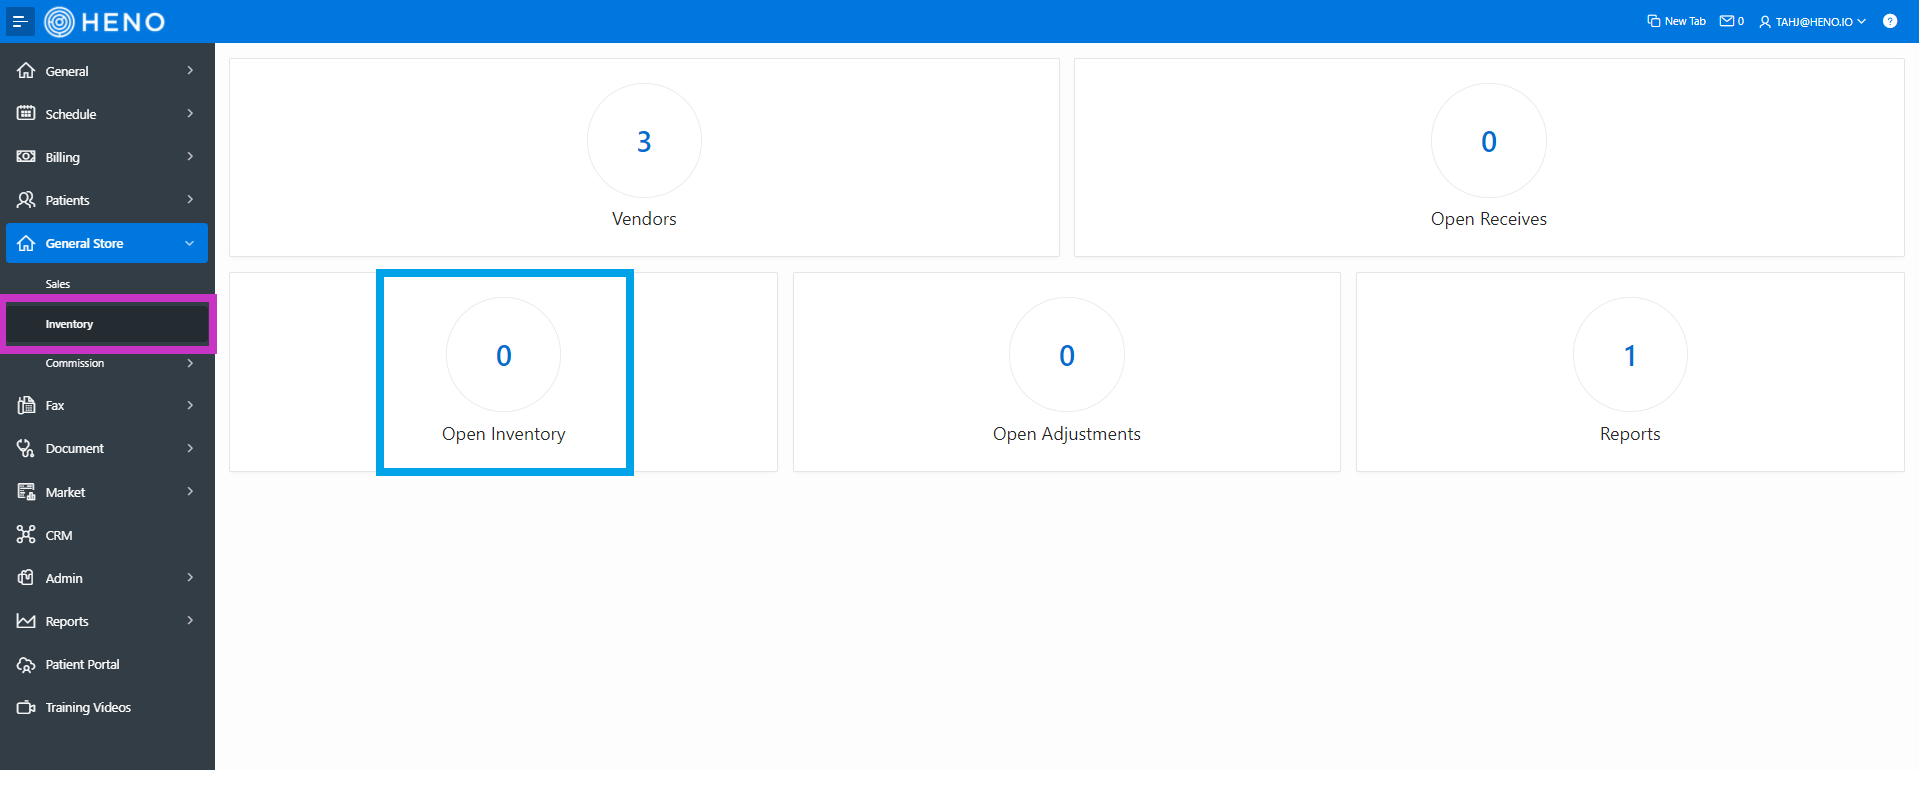
Within the Open Inventory, you will find any open inventory that needs completion or if you need to create a Open Inventory.
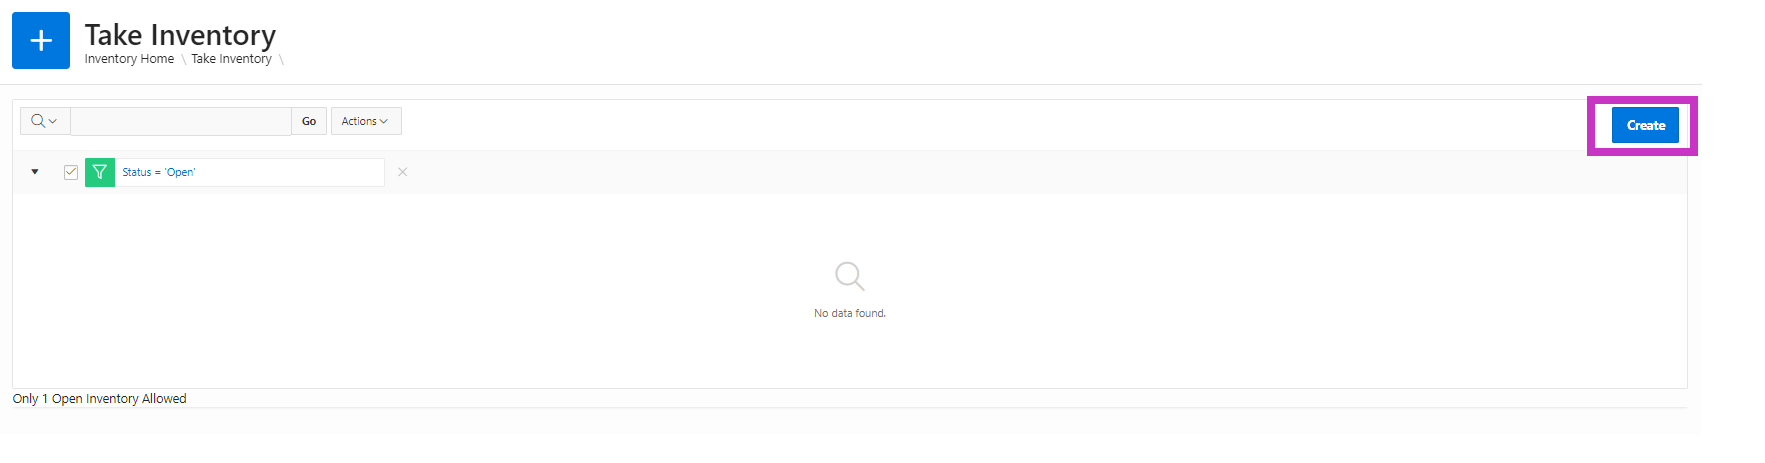
*Please note: Only 1 Open Inventory allowed at a time.
In order to create a new Open Inventory, click on Create
Next:
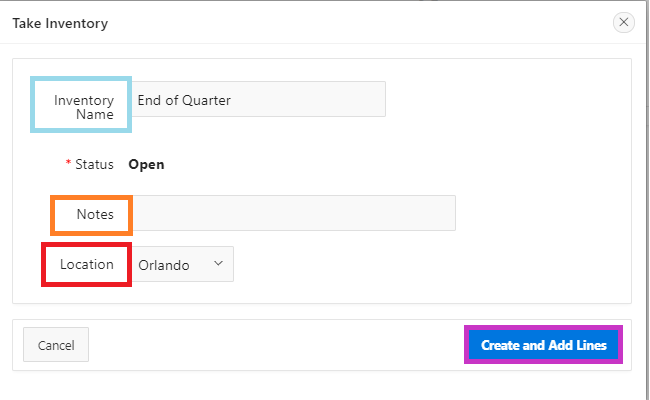
- Light Blue Box - Name of Inventory (i.e End of Quarter, End of Month, Bi-Weekly, etc..)
- Orange Box: Any notes that are needed
- Red Box: Location that the inventory will be under
- Purple Box: Once everything is completed, click Create and Add Lines
First:
- Light Blue box - Start by selecting a Business Line.
- Yellow Box - Select the Category
- Orange Box - Select the Size (individual or case)
- Red Box - Select the Quantity of the item
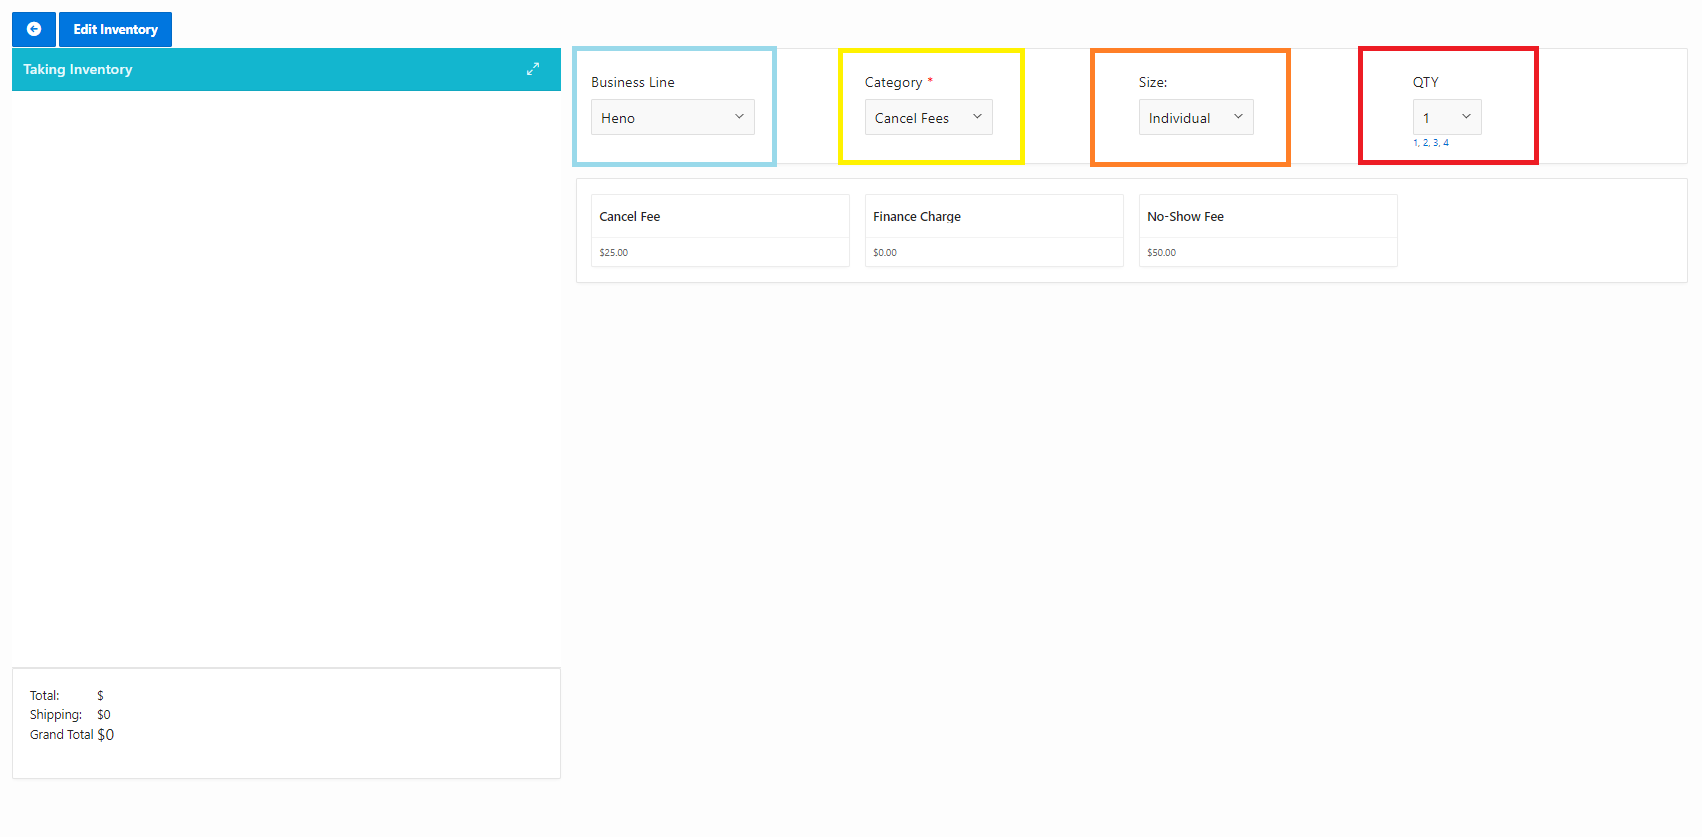
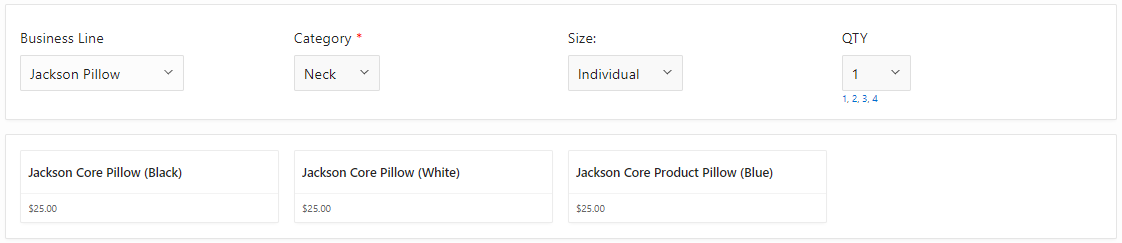
Now select the appropriate item name:
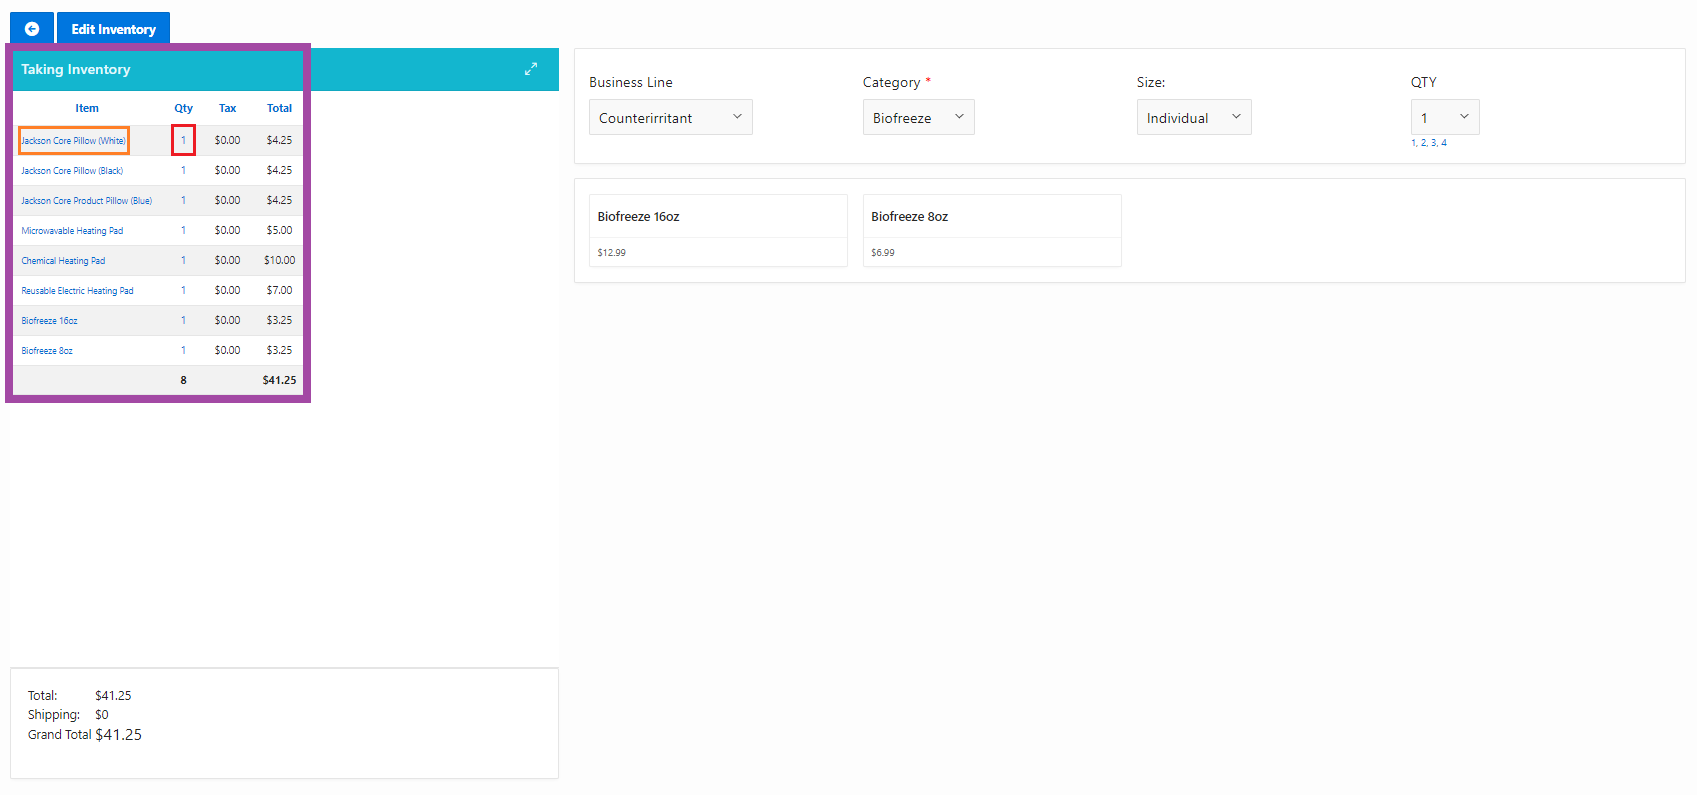
In the left-hand screen, is a summary of the current inventory where you can continue adding items or delete an item. To edit the quantity or delete an item, click on the item name or quantity number.
- Purple Box: Summary of the current inventory
- Orange Box: Edit Item Name
- Red Box: or Quantity Number
- Purple Box: Increase/decrease the units
- Red Box: Delete if you are not satisfy with the item or do not need count the item
- Orange Box: Apply changes if you are satisfied with your quantity.

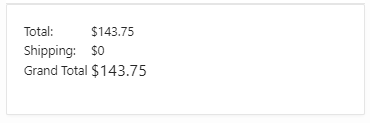
At the bottom left-hand of the screen, you will see a summary of the total cost of your inventory.
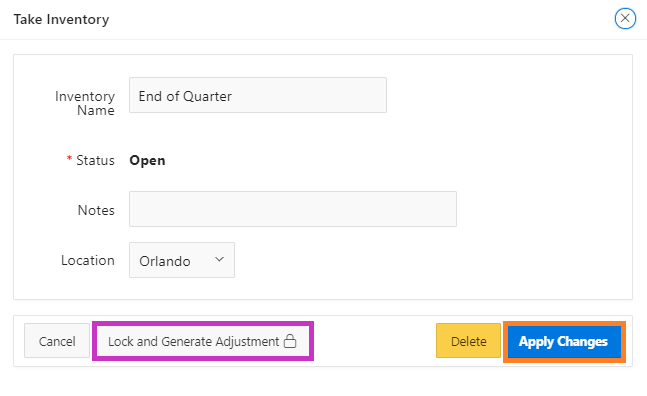
When all inventory has been entered, click Edit Inventory to generate adjustments.

- Purple Box: Click Lock and Generate Adjustments or;
- Orange Box: Click Apply Changes to continue editing later