
Adding a Second Case
**Adding a second case is only used if the patient:
- Has an insurance and No Fault/Workman Comp
- The patient is Self Pay/Wellness for certain services
- The patient has changed insurance plans
- If the patient get a new insurance, please make the other case inactive. How to Mark a Case Inactive
Adding a Second Case/Insurance to a patient is done in the Patient Tab:
 You will click the Pencil next to the patient name to Edit Patient.
Once inside the patient you will click on the Case Tab
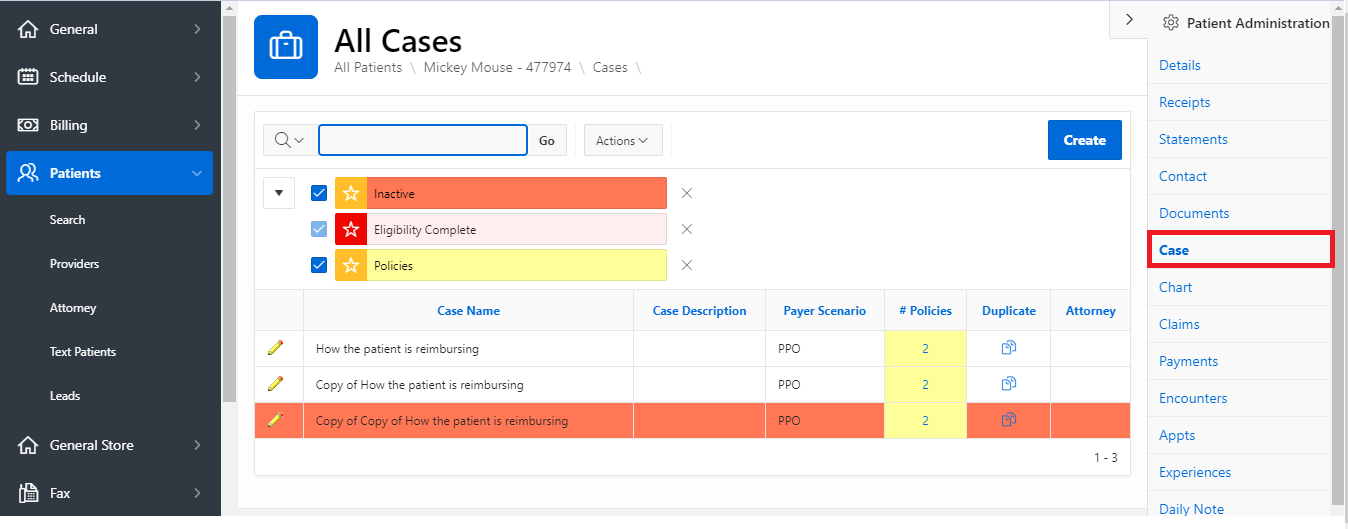
You can either Create a new Case with the "Create" Button (Highlighted in Red) or Click on the Pencil (Highlighted in Green) to edit an existing one

Add a Second Case
You will click on the "Create" button in the upper right have corner
This will then take you to a new page to create the case:
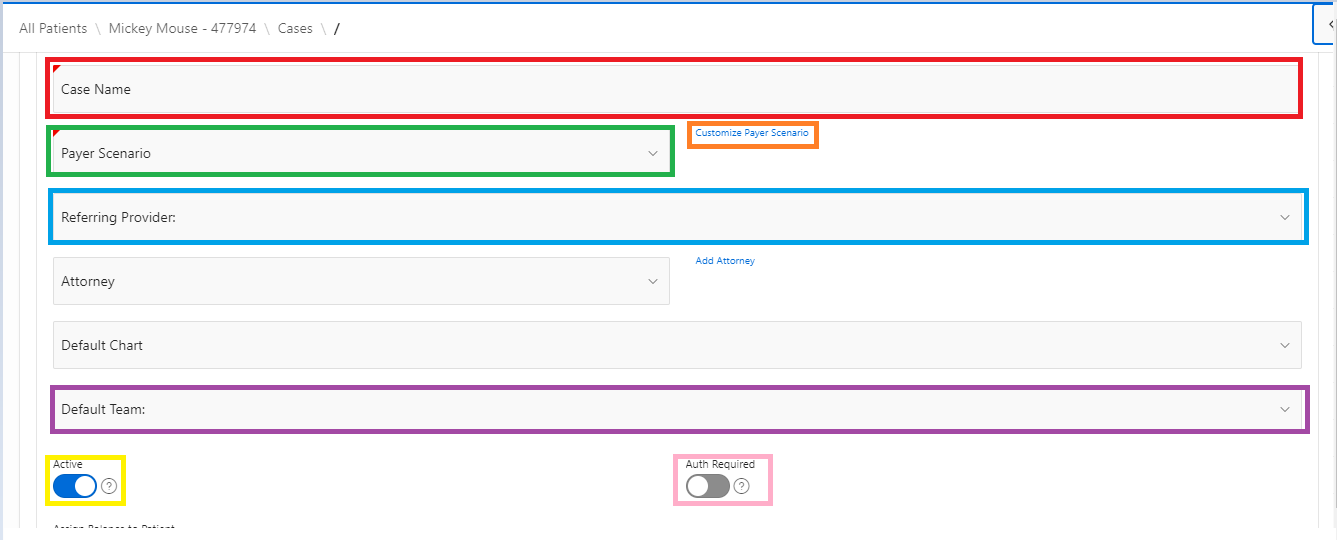
Red - Case Name - you will want this to be the name of the case or insurance for the patient
-
- Please do not put body part here, that will be your Chart
- Green - Payer Scenario - You are able select the Payer Scenario/Insurance Type for this case
- Orange - Customize - this will bring you to the Manage Payer Scenario page, for more information on this please see the article: Changing Slot Color by Insurance Type
- Blue - Referring Provider - this provider will the the one that populates as the Fax to provider when you hit "Approve and Fax" in the documentation
- Purple - Default Team - if you have a default team for this specific case
- Yellow - Active - This case will be available in the schedule if set to Active
- Pink - Auth Required - If checked patient will be unable to schedule or send a claim until Auth is received
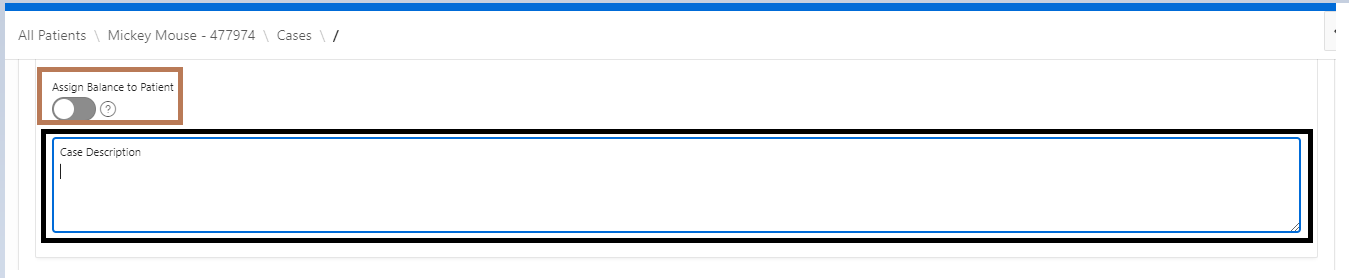
- Brown - Assign Balance to Patient - After the claim is sent the initial time it will automatically change the claim status to "Bill Patient" which puts them into the Patient Statement process.
- Black - Case Description - this is where you can add a note to the case if there is information pertaining to it
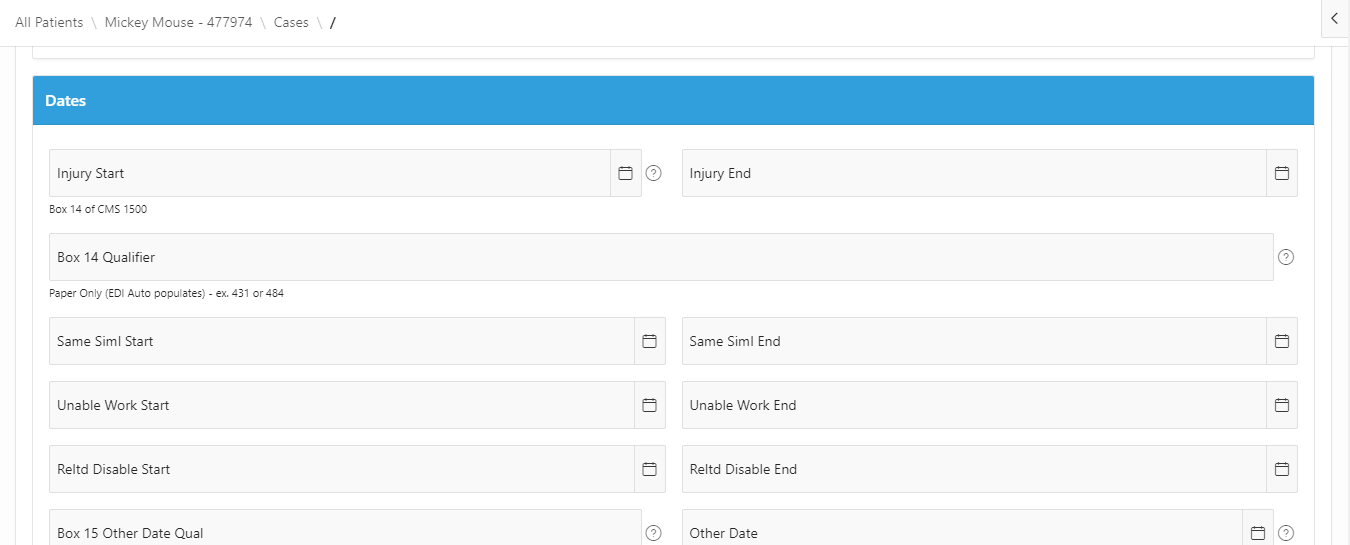
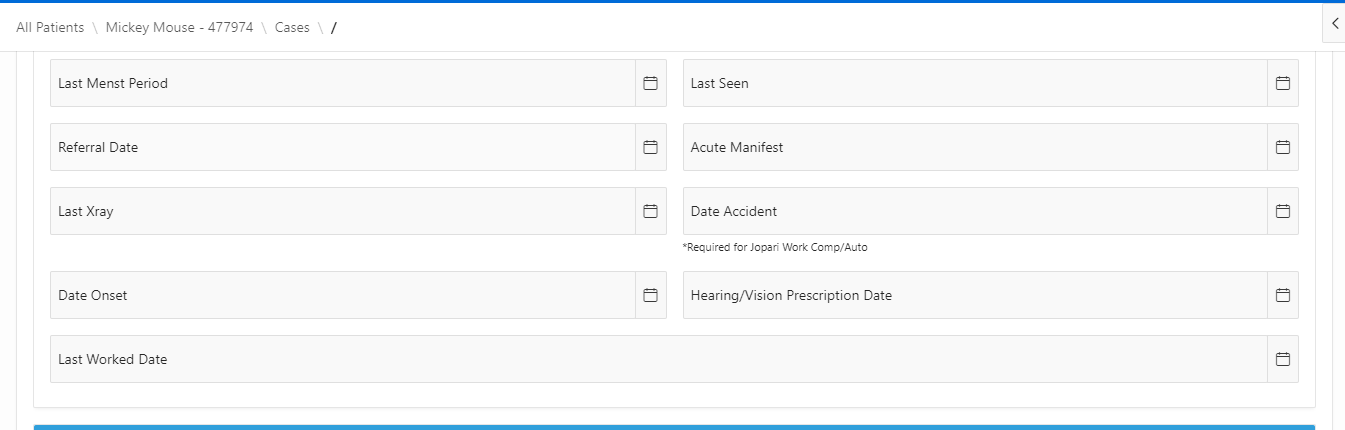
The Second tab when creating a Case is the Dates Tab. In here, you can track any important date for the patient:
The Conditions tab will be able to give additional inform to the Case in Yes:


Once all the information is in for the Case, click "Create Case" in the upper right hand corner, then you can add the patient's policy.
Adding a Policy to a Case
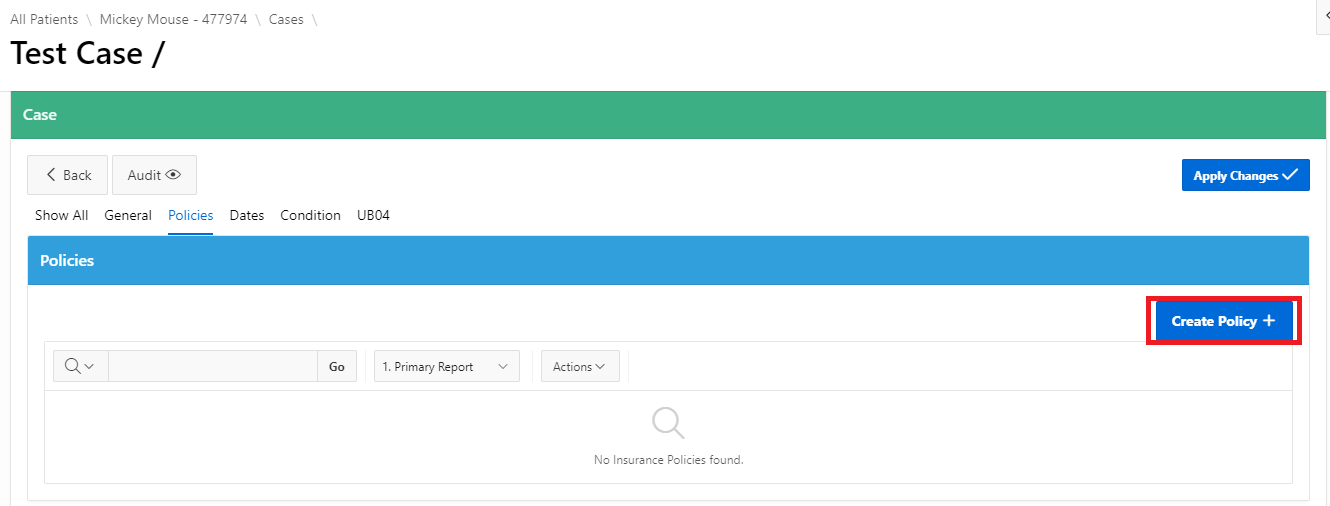
The last tab here is called Policy. This is where you are going to add the insurance information for the patient.
You will click the "Create Policy" button in the upper right hand corner
This will take you into a new screen that will allow you to enter information:
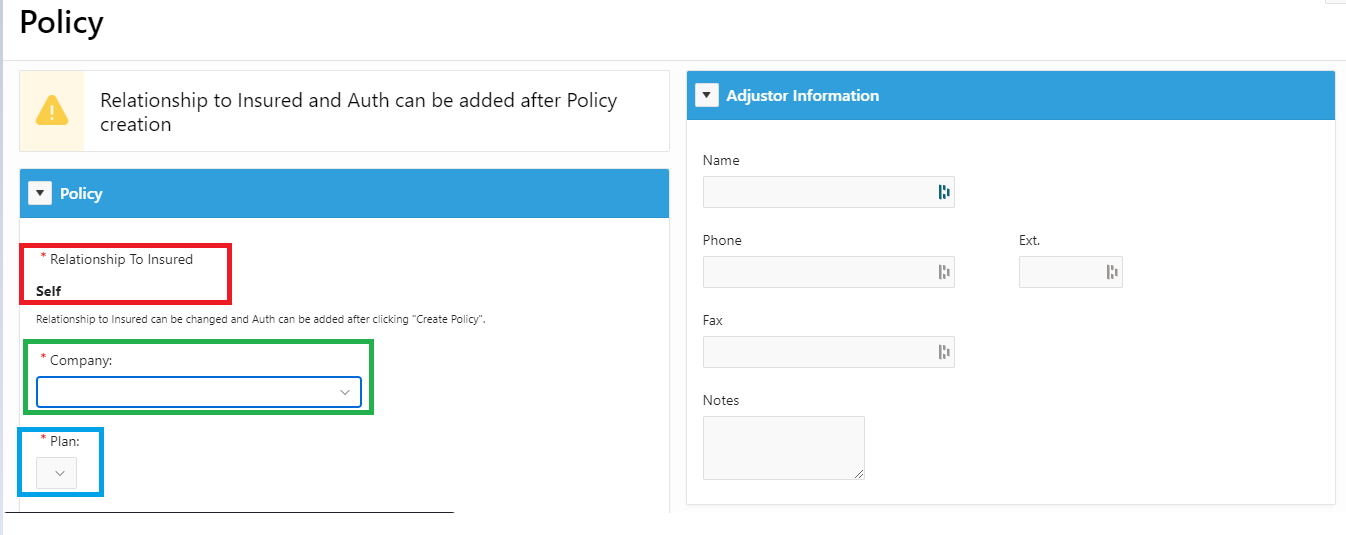

- Red - Relationship to Insured - "Relationship to Insured" can be changed after clicking "Create Policy".
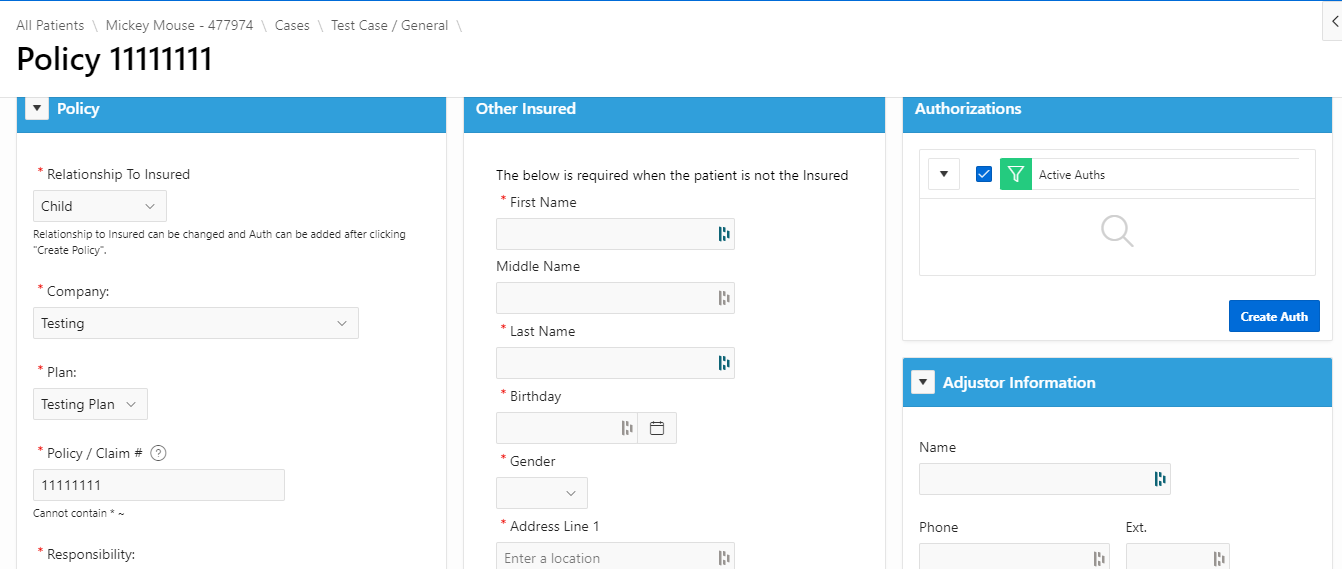
- If the patient is not the policy holder, Create and then edit this. When you select anyone other than self you will have another box show up that will ask for policy holder information:
- Green - Company - select the insurance company that the patient has
- Please see: ARTICLE COMING SOON
- Blue - Plan - this will be the plan under the insurance company that the patient has
- Please see: ARTICLE COMING SOON
- Purple - Policy Number - this will be the policy number given by the insurance
- Note: if the plan does not have a policy number, you can put the Member ID number in both the Policy Number and Member ID boxes
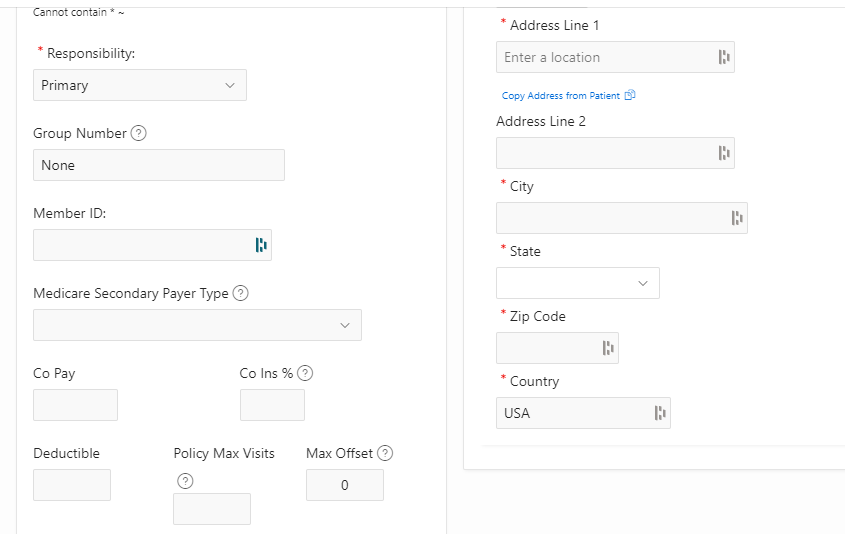
- Orange - Responsibility - here is where you can select if this is a primary, secondary, etc. responsibility for the insurance
- Pink - Group Number - this will be the group number given by the insurance.
- If there is no group number, create a fake one that you can standardize through out all cases that don't have a group number (such as 1111)
- Black - Co Pay - if the patient has a co-pay, you can put it here to collect at the appointment
- Brown - Co Ins% - Enter the co-insurance here. This will allow you to collect co insurance at the time of the visit after CPT codes have been entered
- If a patient such as Medicare is not responsible for anything then, please leave the co-pay field empty and enter a 0 in the co-insurance field


- Adding a Authorization
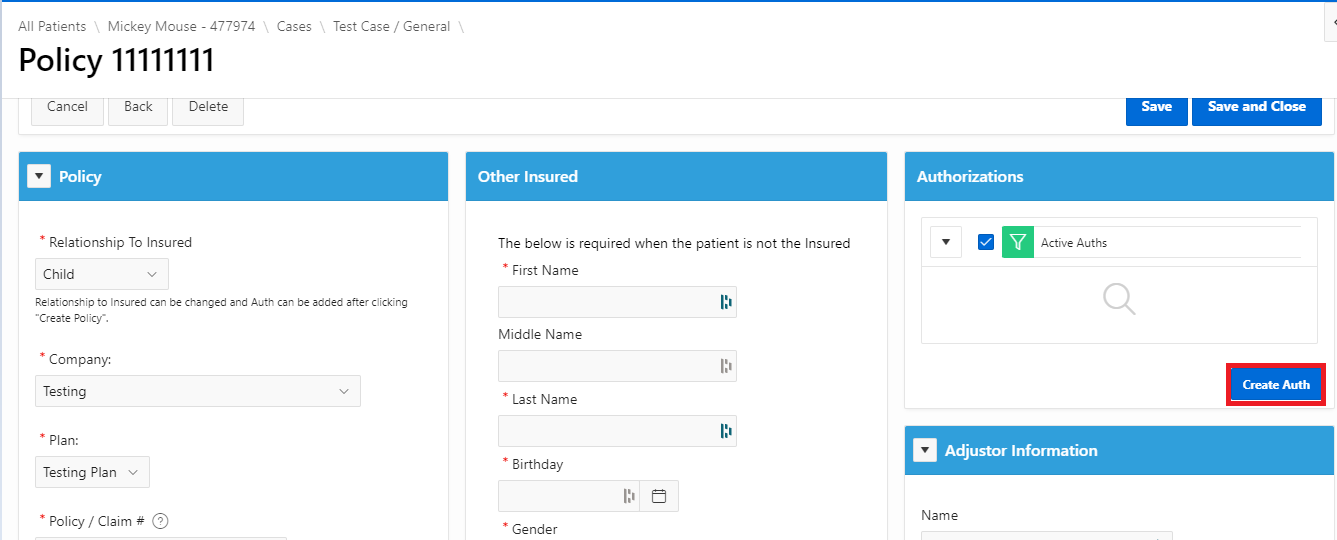
After the Policy has been created, you are then able to add an authorization to the policy.
You will click on the pencil next to the policy to edit the information. A new box will appear that says "Authorizations." Click "Create Auth" to make a new one or click on the Auth Number to edit an existing authorization.
A new page will generate where you can enter information about the authorization.
On the top of the page:


- Red - Auth Number - this will be the number given to you by the insurance or the descriptor of this authorization.
- Green - Auth Visits - This is the number of visits the insurance company is allowing with this authorization.
- If you are using an auth for the Medicare Cap set this to a high number
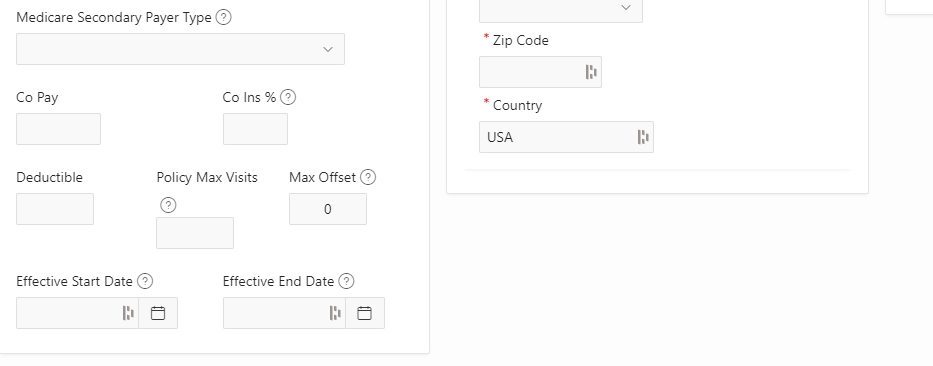
- Blue - Auth Start and End date - this will allow you to set the expiration parameters for this authorization
- Purple - Active - if the box is check the authorization is active in the Case
- Yellow - Auth Notes - any notes you may need to add
- Orange - Max Visit Charges -This is the maximum that can be billed for this Auth. The estimate is calculated against what treatment codes are entered at the time of service and NOT from the encounter.
- This is also the area you can put in your Medicare Cap
**To add the KW modifier please see: How to add the KX Modifier
Below this, you have the option to:
- Create a Follow Up
- Add Approved codes on the authorization
- Contact information for the authorization