
Changing Slot Color by Insurance Type
You have the option to have your appointment color change when you schedule a certain type of insurance.
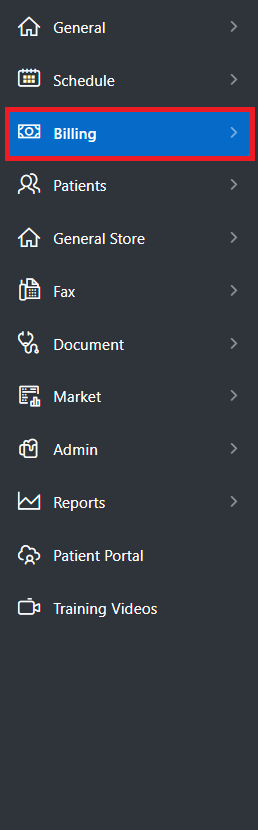
You will be able to do this under the Billing tab:
This under the Manage sub-category on the Billing tab:
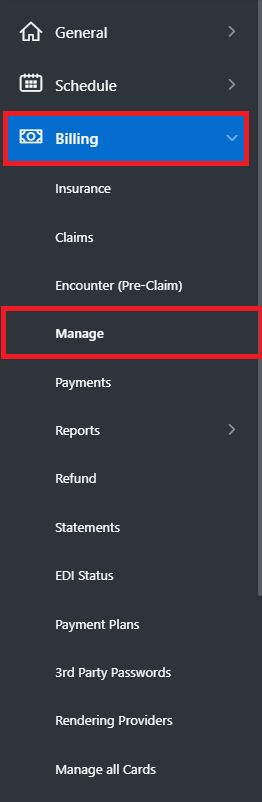
You will want to select the Scenarios tab.
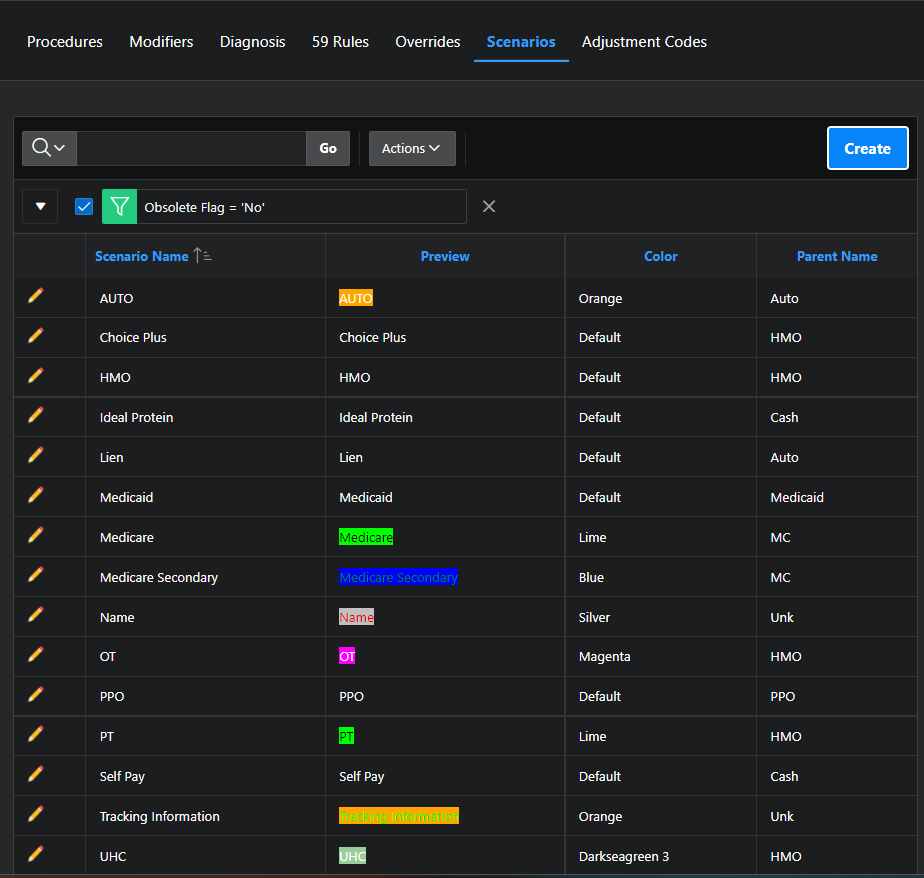
On this screen, you can manage and create your Insurance Scenarios/Types:
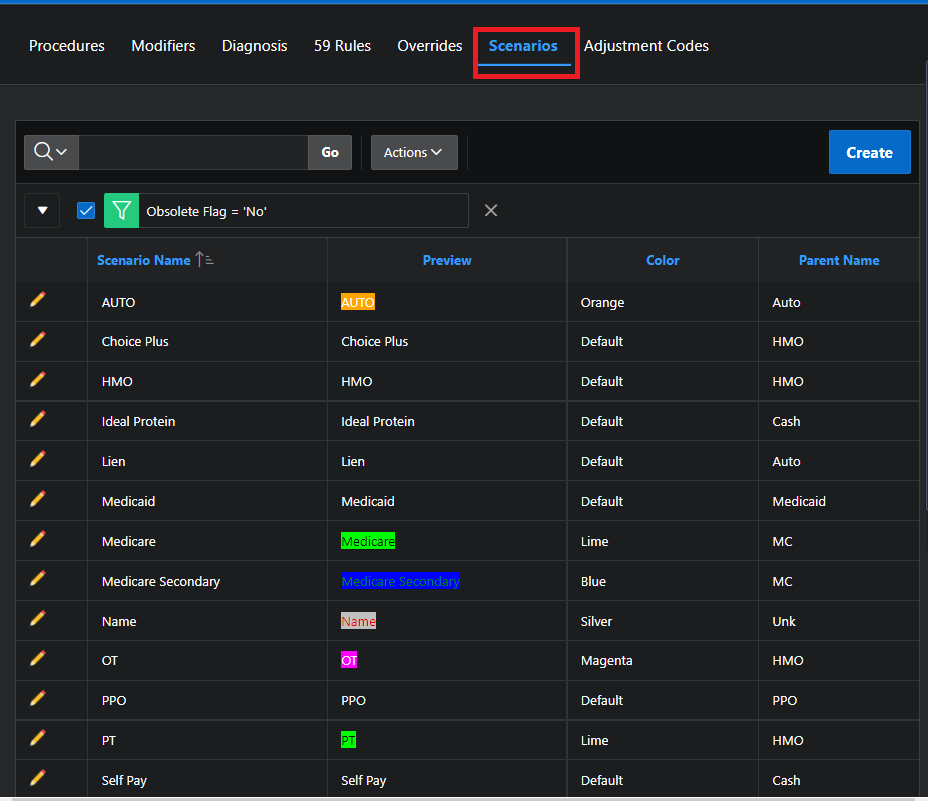
You can edit a Scenario/Insurance type by click on the Pencil icon:

Or you can create a new Insurance Type, click the "Create" button on the upper right hand side:
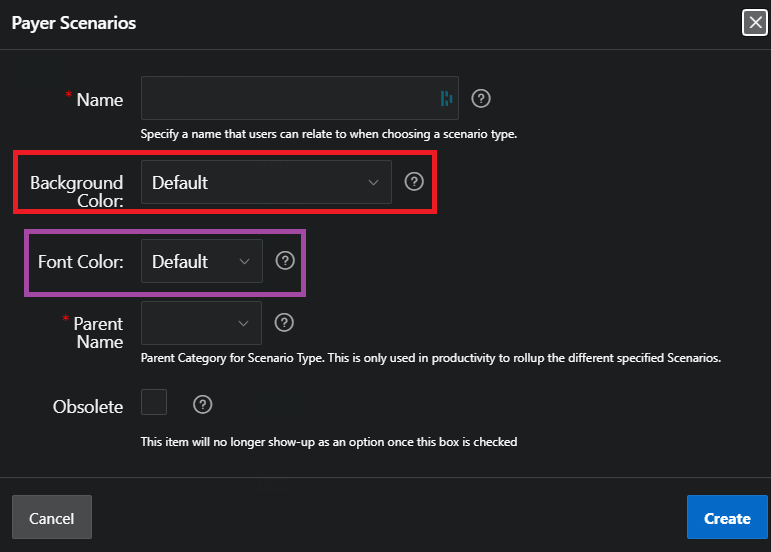
There will then be a pop-up that will allow you to create a new Scenario/Insurance Type.
- Blue - Name - Specify a name that users can relate to when choosing a scenario/Insurance type.
- Green - Parent Name - Parent Category for Scenario/Insurance Type. This is only used in productivity to rollup the different specified Scenarios/Insurances.
- Orange - Create - This will save the scenario.
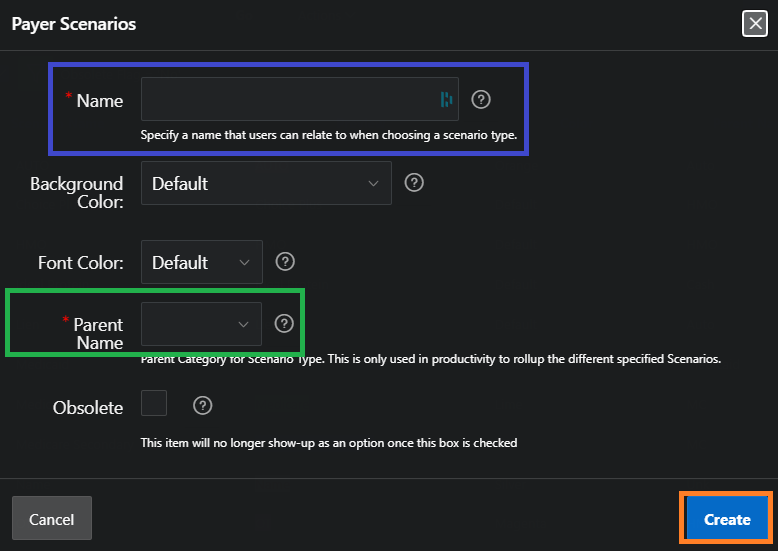
To add have the color change when you schedule a certain type of insurance you will want to select one of the options these boxes:
- Red - Background Color - there are 534 colors to choose from.
- Purple - Font Color - there are 14 colors to choose from.
Once you have selected a background color and a font color, you will be able to see a preview on the main screen (see below):
Selecting Insurance Type
You will select the Insurance Type in the patient demographics in the case/policy information.
Click on the Patient tab:

Then click on the Pencil icon to edit the patient.
 Once in the patient you will click on the Case tab -> Click on the Policy -> Click on the General tab.
There you will find a Drop Down Menu called "Payer Scenario." Select the one that applies to this patient.
 When Scheduling
After you have created color the Scenario/Insurance Type and selected it for the patient, the appointment color when change when scheduled.
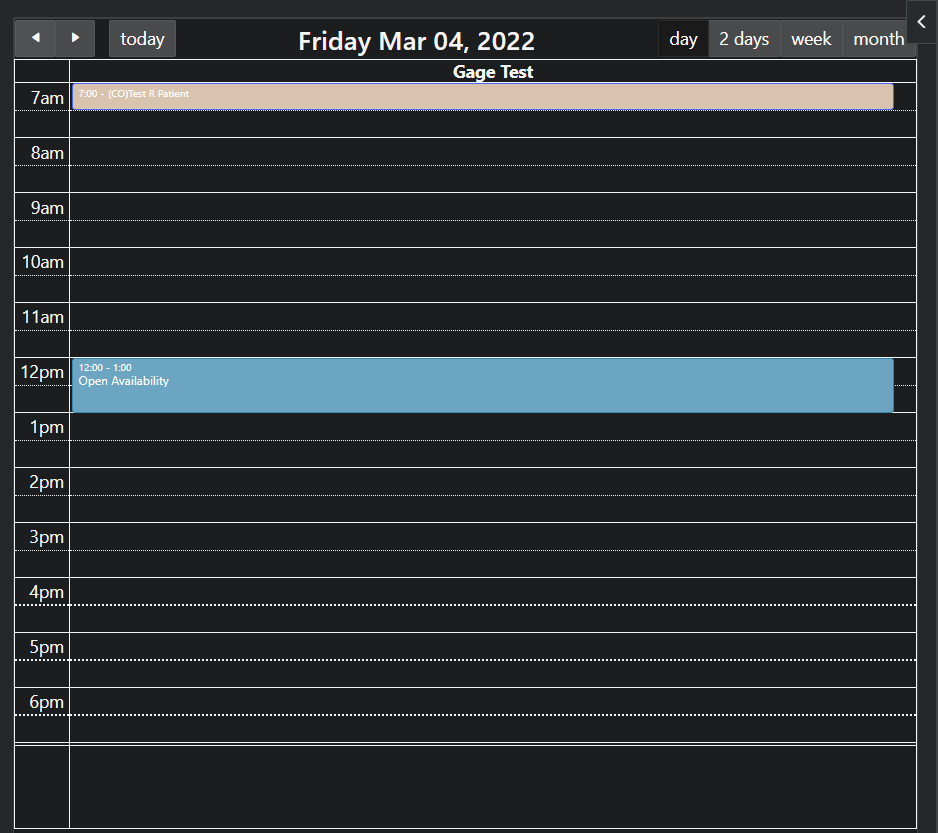
Before the appointment is scheduled:
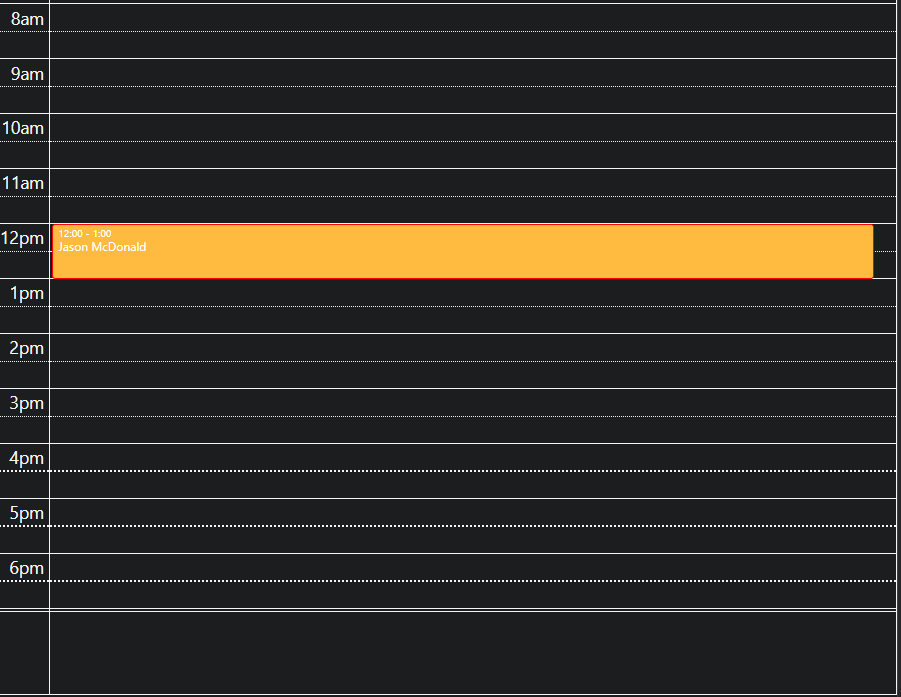
After the appointment is schedule:
If you have any questions, please email support at Support@Hheno.io